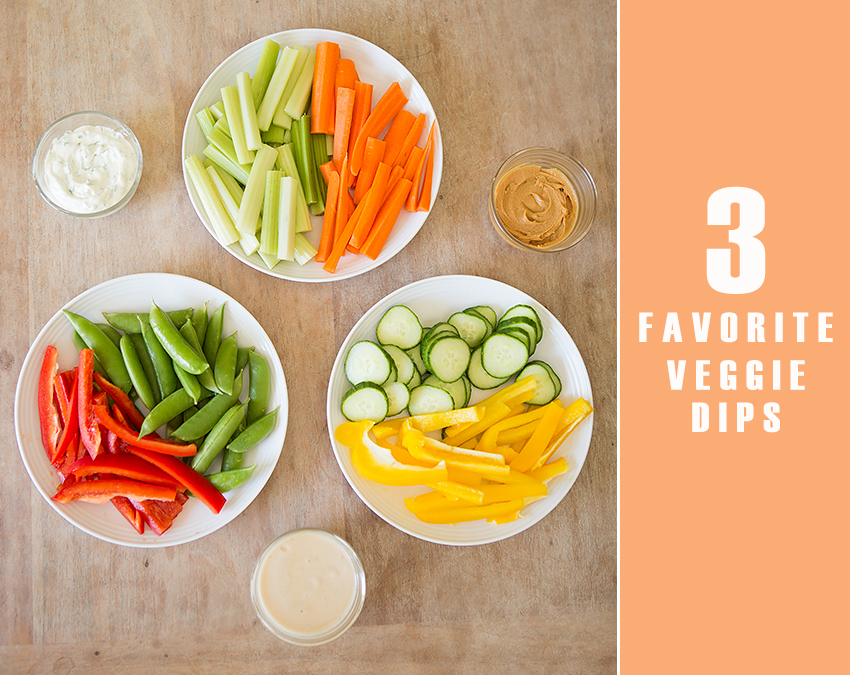
Today I’m sharing my 3 favorite dips for vegetables on Modern Parents Messy Kids. If your kids are like mine, raw veggies are a hard sell. Having some fun dips makes ’em go down a little easier!
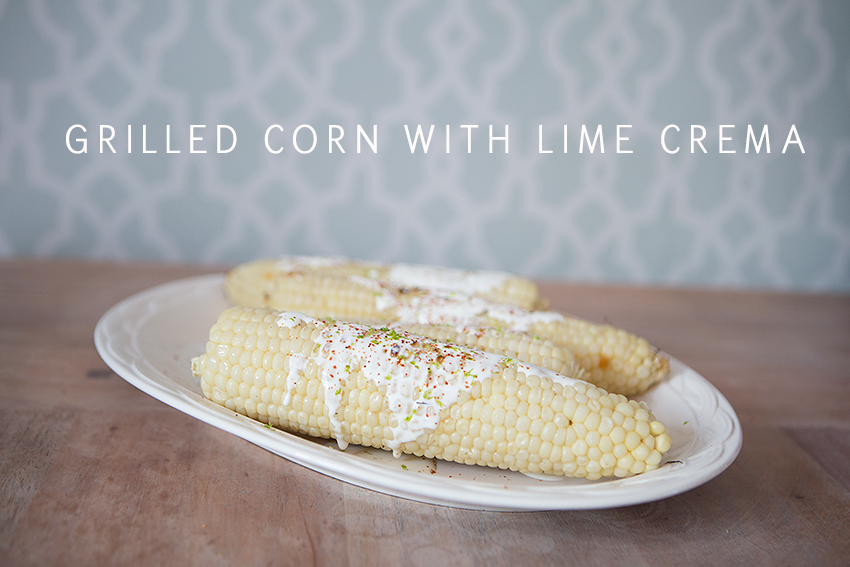
By the time July hits, I’m just about done with the kitchen. No one feels like cooking in 90 degree heat! So, to the grill we go. Most days of the week, we are eating some type of grilled meat with an easy salad or fresh fruit. Today I want to share one of my go-to summer side dishes. Most of the work is done on the grill and the rest is finished in about 2 minutes.
Start with 6 ears of corn. Soak them in cold water for about 10 minutes in the sink. Put them straight on the grill with your meat and barbeque for 10 minutes. They’ll be piping hot when you take them off, so be careful.
After they are cool enough to handle, you can easily slide off the husks. Brush them with a little olive oil and put them back on the grill for a minute or two on each side to get them toasted and increase the depth of flavor.
While you are grilling the corn, you can whip up the crema sauce.
- 1/2 cup sour cream
- 2 Tablespoons milk
- 1/2 tsp finely grated lime zest
- 2 tsp lime juice
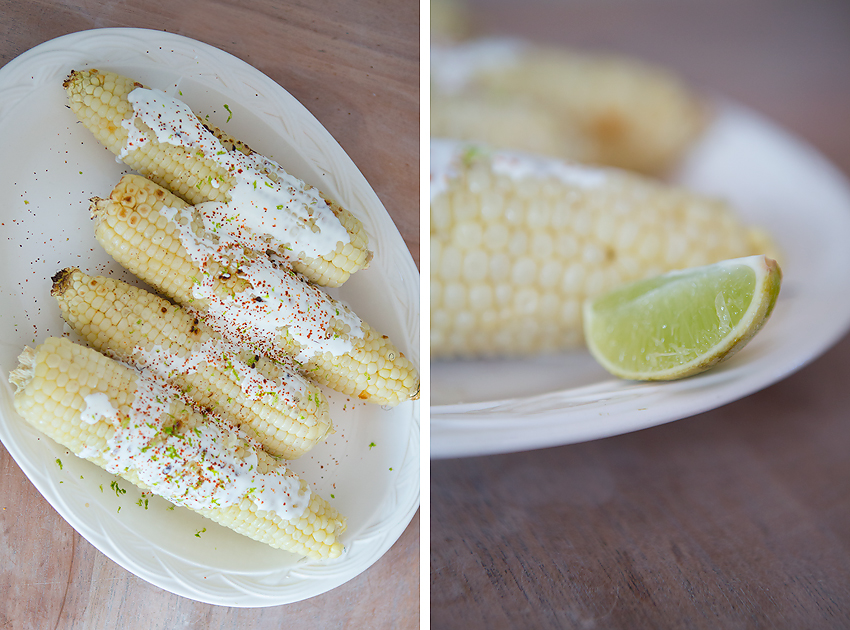
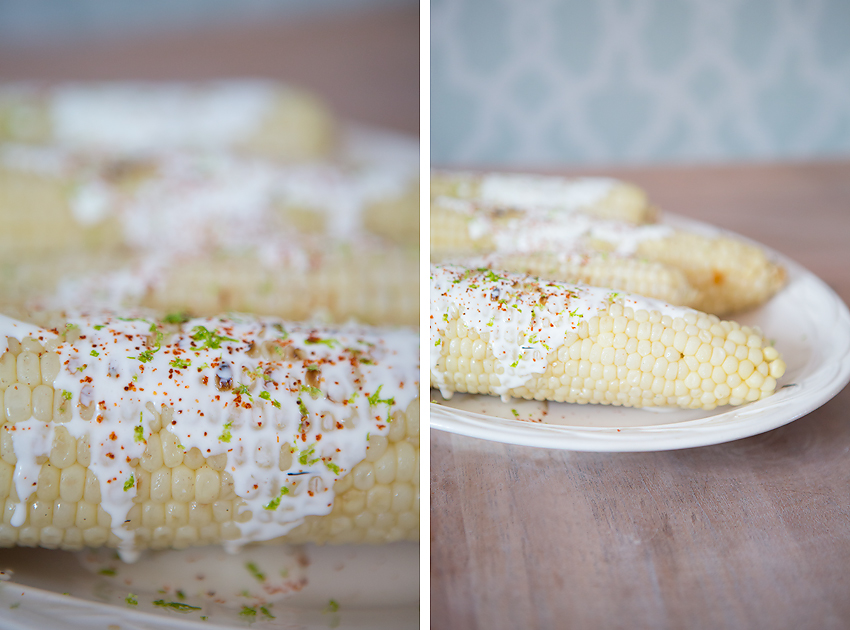
Whisk the ingredients thoroughly and drizzle over the hot corn. Top with more lime zest and a sprinkle of chili powder.
Have you seen the whole food eating trend? If you look at social media it’s everrrrrywhere. For months I kind of peeked around, thinking certain dishes looked good. I dipped my toes in by trying a few meals with no bread or dairy and the next thing I knew I had jumped in head first and you couldn’t find a carb in my whole house! The benefits of eating real (whole) foods are endless, but I gotta say, I do miss a cupcake from time to time. So, while we eat clean at home, we do like to indulge in treats from time to time too. I love this balance and also the new recipes I’ve found through this experience.
Homemade mayonnaise is something I had never tried before. In fact, I didn’t even really like mayo all that much. But, like so many food items, the difference between homemade and store-bought is significant. The best thing is that it’s made in 2 minutes and has only 5 ingredients.
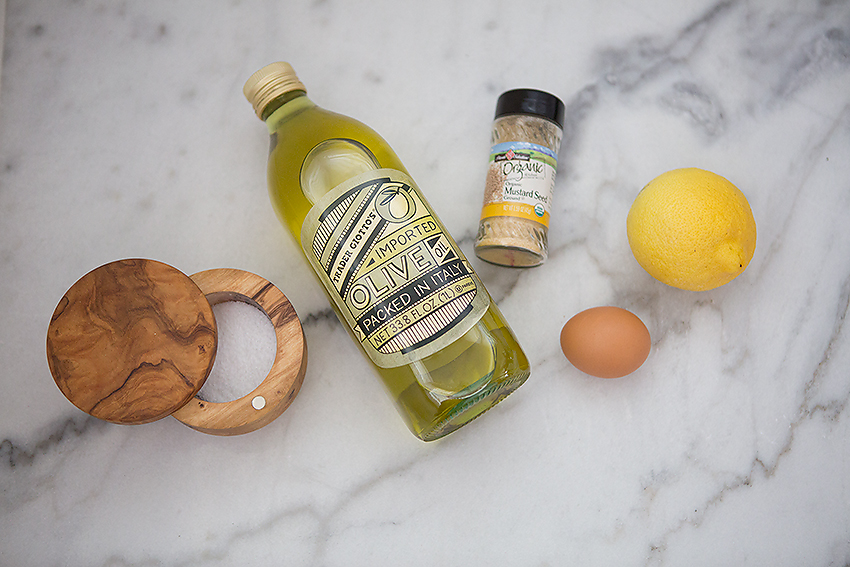
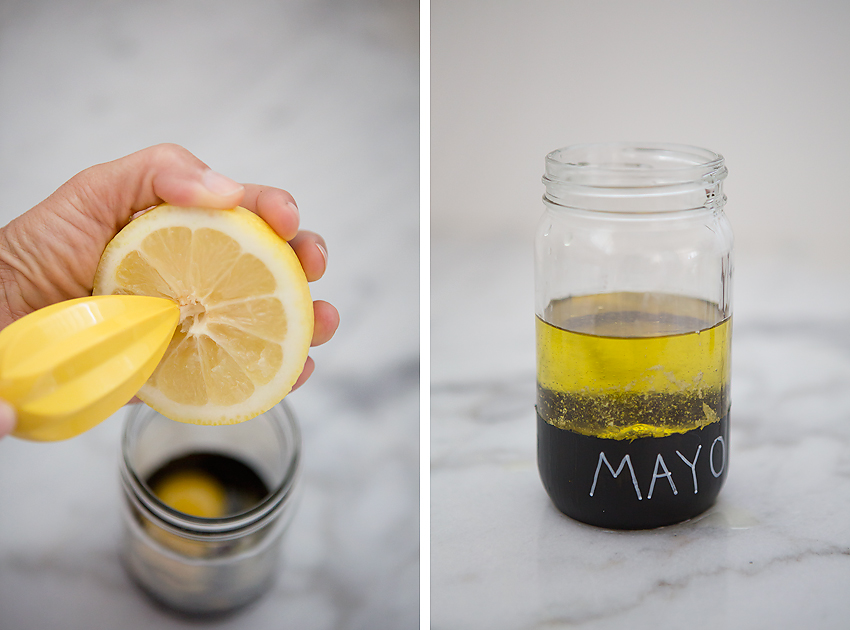
You’ll need one egg, one cup light olive oil, 1 teaspoon dry mustard, 1 teaspoon salt and the juice of a half a lemon.
A note about the olive oil. The first time I made this, I only had extra-virgin olive oil on hand. While, this heart-healthy oil is fantastic, it is just too strong to be used in mayo. Try looking for ‘light’ olive oil, or if you live by a Trader Joe’s, this brand is very light in taste.
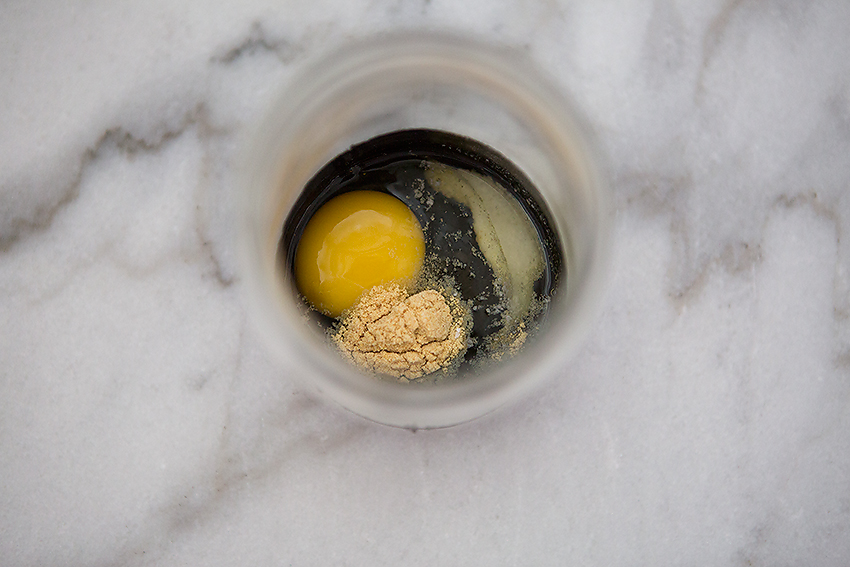
- If you have a wide mouth mason jar, you can dump everything in and blend it. High five for less dishes!
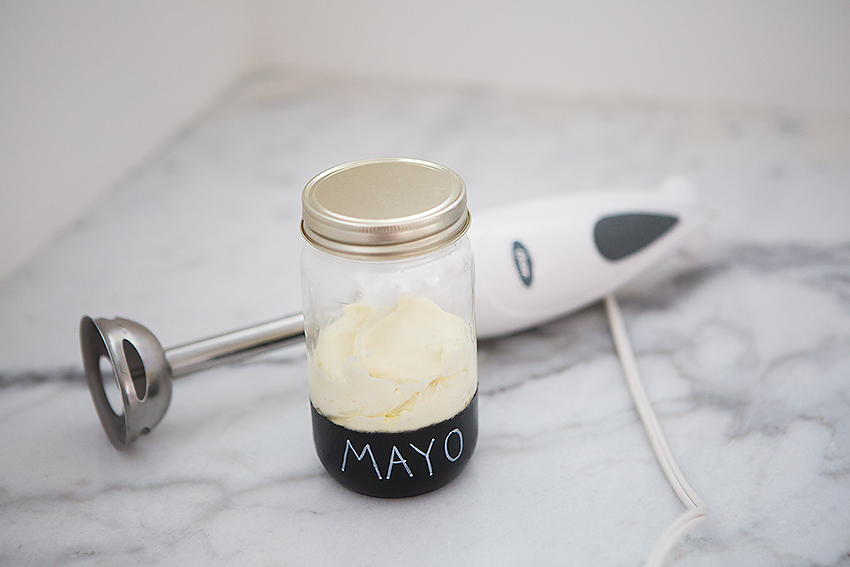
- Use an immersion blender for about one minute to combine the ingredients in the jar. You’ll notice it go from liquids to a fluffy solid.
- If you don’t have an immersion blender, you can use a hand mixer or a kitchen aid. Make sure you use a room temp egg if that’s the case. And add all the ingredients besides the oil. You’ll slowly stream that in as you blend.
What do I do with homemade mayo!? Well, I hardly even eat it straight on a sandwich. I’ll use it as a base for ranch dressing or dip. I’ll also use it as aioli by adding in sundried tomatoes, wasabi or different herbs and spices.
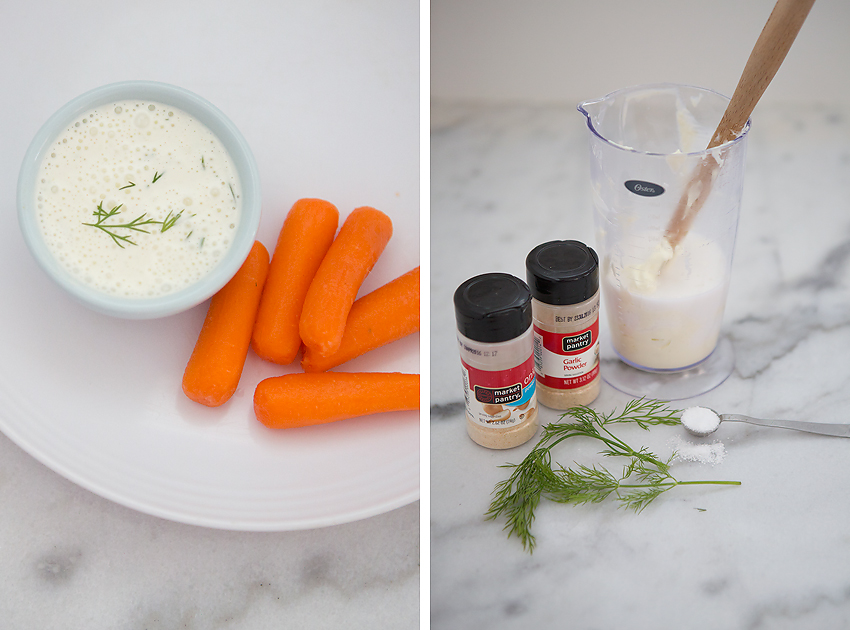
Taking mayonnaise to ranch dressing is much easier than you think. This recipe is for ‘clean ranch,’ which means it doesn’t have any unhealthy oils or MSG. You keep that creamy blend of herbs without all the bad stuff.
Start with one cup of mayo, half cup of coconut milk, one teaspoon each of garlic powder and fresh dill, half teaspoon each of onion powder and salt. I also added a teaspoon of fresh chives after I took the photo.
Carefully whisk together and chill for one hour. The coconut milk sounds like a very odd thing to put in ranch, but none of the coconut flavor comes through. It’s all tangy and crisp as ranch dressing should be. Give it a try!
(recipe credit: http://instagram.com/amazon_ashley)
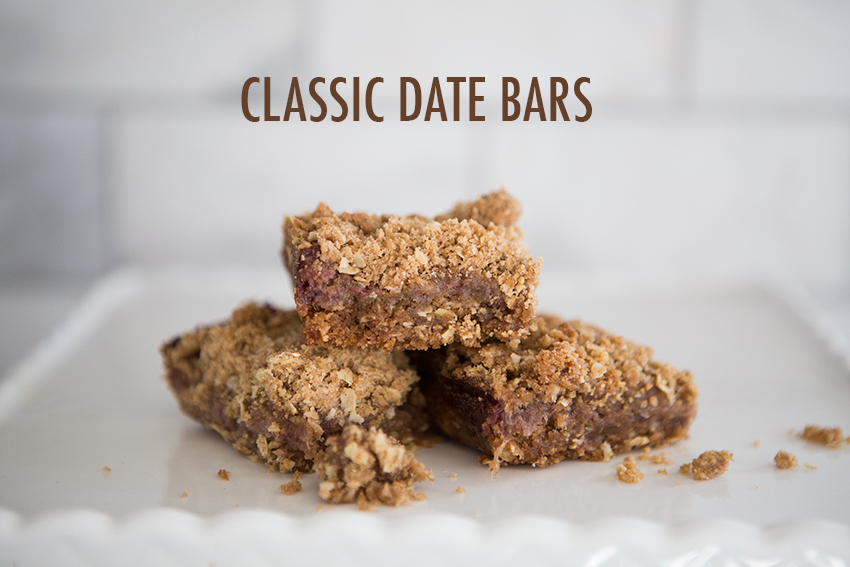
My new favorite after-school snack for the kids! We love these so much, they’re gone in about 2 days. The topping is reminiscent of an apple crisp. Head over to Little Skye Kids where I share the recipe…
A few weekends ago, I held photo sessions in Los Angeles and Orange County. It was open to babies, kids and families. Some chose to go all out with for Valentine’s Day..other kept it simple and just updated their child’s photos for home. Either way, the weather was beautiful, I got to try out a new location and everyone that came was in a fabulous mood. That’s the perfect equation!
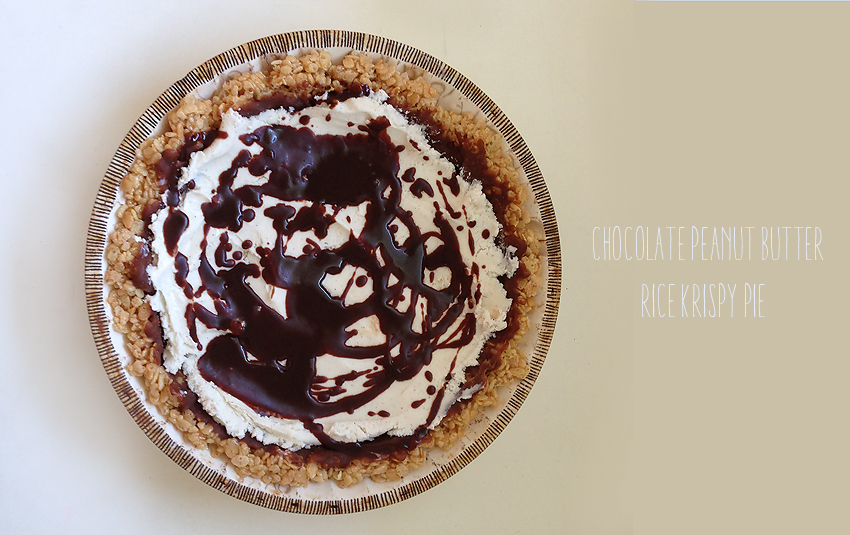
Hey you. I see how you’re working on enjoying the last bits of this weekend. Do yourself a solid and make this pie tonight. You might even have all the ingredients. I’m not kidding, this is my favorite dessert ever. Please enjoy it. If not tonight, then sometime soon before an ice cream based pie is out of season. Oh, wait. It’ll never be out of season
Here’s your list…
1/2 cup karo syrup
2T. brown sugar
3T. butter
Melt these 3 items either over the stove top in a small pan or in the microwave.
Add 2 1/2 cups rice krispies. Spread this mixture in a buttered pie tin and freeze it for 10-15 minutes.
While it’s freezing, make the fudge sauce:
1/2 lb. butter
4 squares unsweetened chocolate
Melt these 2 things in a double broiler so the chocolate doesn’t burn. Add 1/2 c. cocoa and 3 cups sugar. Thoroughly stir together.
Cook for 10 minutes. Add 1 pint heavy whipping cream and cook on low until smooth. Take off the heat and add 1T. vanilla.
This is going to make a LOT of fudge sauce. You’ll only need about 1/2 cup for the pie, so you can eat the rest for breakfast tomorrow. (if you know what’s good for you)
Back to the pie…
Mix 1/4 cup fudge sauce with 1/4 cup natural peanut butter. Spread this mixture over the rice krispy pie crust. Freeze for 10-15 minutes.
Pack in 1 quart of high-quality vanilla ice cream. Drizzle with fudge sauce.
**Here’s a little bit of history on this recipe. My in-laws used to own the Naples Rib Joint in the Long Beach. My mother-in-law created this recipe in the 80’s it was called Girdle Buster Pie. Those were the days! (When a name like that wouldn’t deter every female customer from ordering it!) They wanted a dessert that would melt and quickly turn tables. Now, it’s just a birthday favorite among the family.
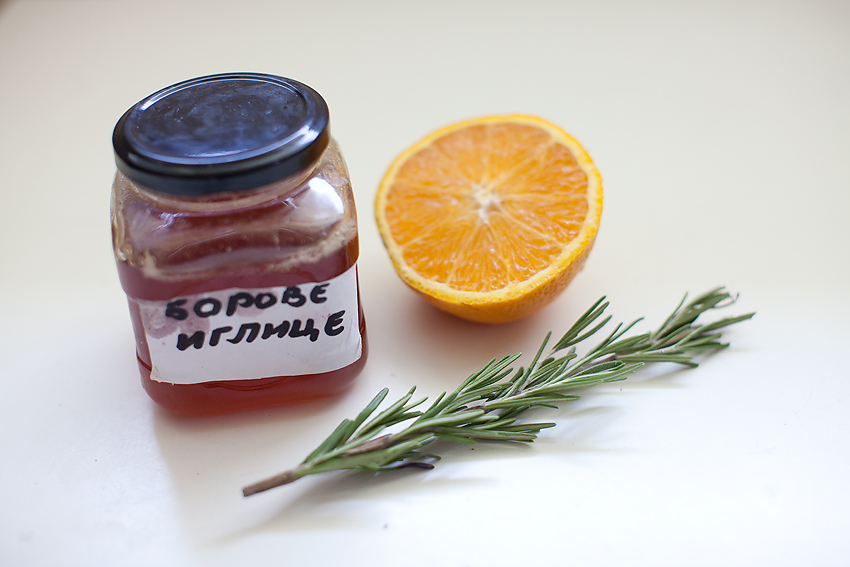
I think spritzer is just a fancy word for soda. It is reminiscent of summer. Sitting on a porch or in a backyard with a cool drink in hand is how summers should be spent. I found this recipe while looking for something to serve friends at a dinner party. It then morphed into a treat that I make for the kids on lazy summer days. I don’t buy juice or sodas for the kids, so it’s definitely a treat at our house!
The original recipe from The Kitchn calls for oranges and lemons along with sugar and honey. So feel free to switch up the ingredients to your tastes. I think the oranges make it sweeter, so I was able to cut back on the sweeteners and just use honey.
Start with the juice of four oranges and stir in 1/2 cup honey. Throw in four sprigs of rosemary. You can either boil this mixture for one minute or microwave it if you’re in a hurry, like I generally tend to be. Let the mixture cool and strain it into another vessel. It will be a concentrated herbal scented juice, which is diluted by the club soda.
Pour 2-3 tablespoons of concentrate into each glass and top with soda water. If you’re feeling fancy, you can top it with a rosemary sprig and a paper straw. My kids like to be able to mix the glass themselves, watching the color crawl it’s way up to the top of the glass.
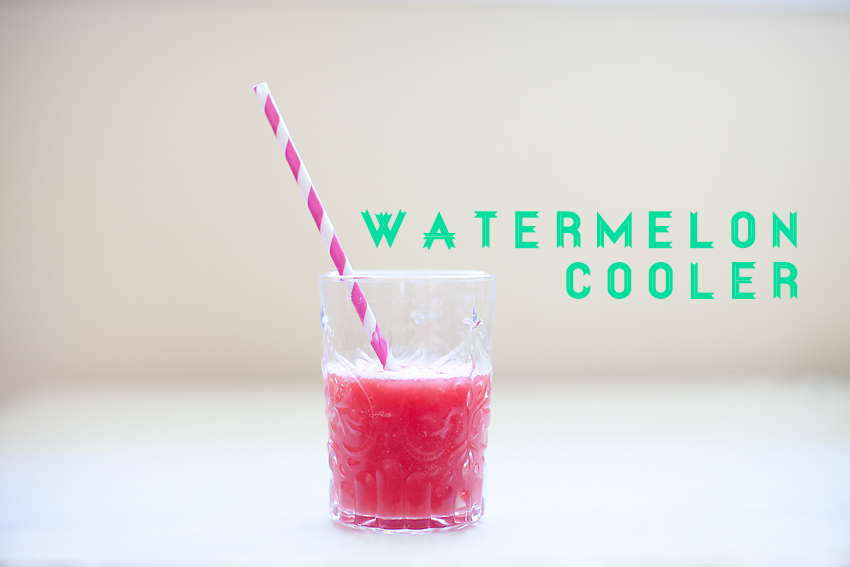
If you want to try another soda alternative, check out my watermelon cooler!
I’m over on Little Skye Kids today sharing my current favorite summer drink! The Watermelon Cooler! Head on over to check it out!
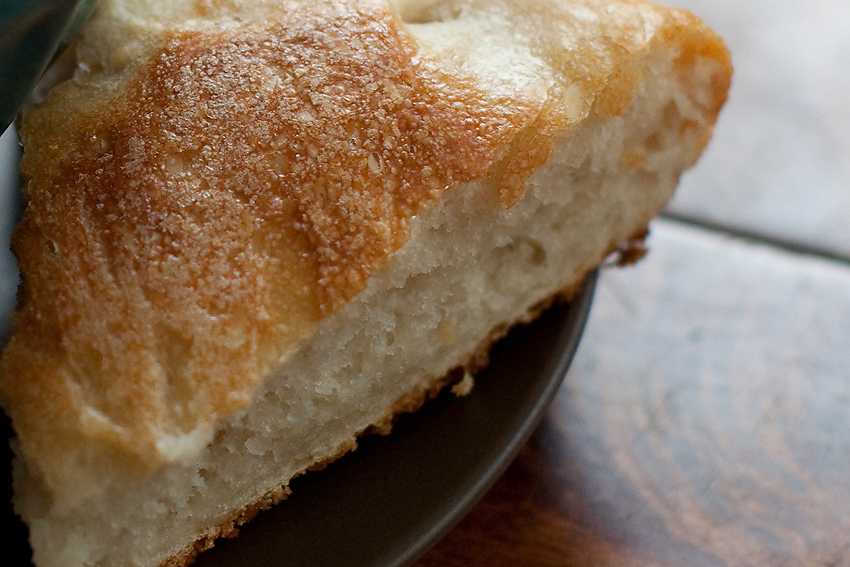
No-Knead Bread? That tastes amazing? Sign me up! My mom taught me this recipe a few summers ago and I’ve seen the No-Knead pizza dough floating around online and pretty much every where! I made it here, so check it out if you want to see how this translates to pizza.
No Knead Bread
- 3 cups all-purpose or bread flour, plus more for work surface
- 1/4 teaspoon instant yeast
- 1 1/4 teaspoons salt
- 1 1/2 cups water
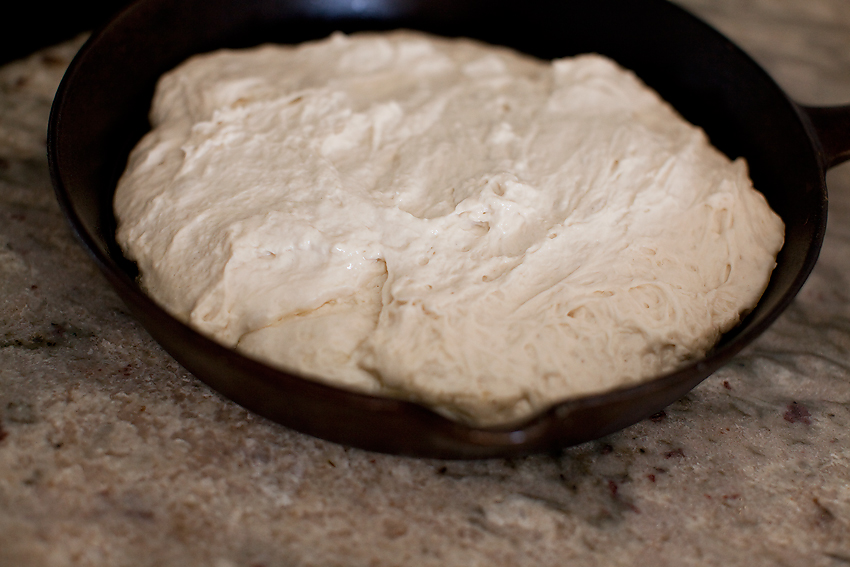
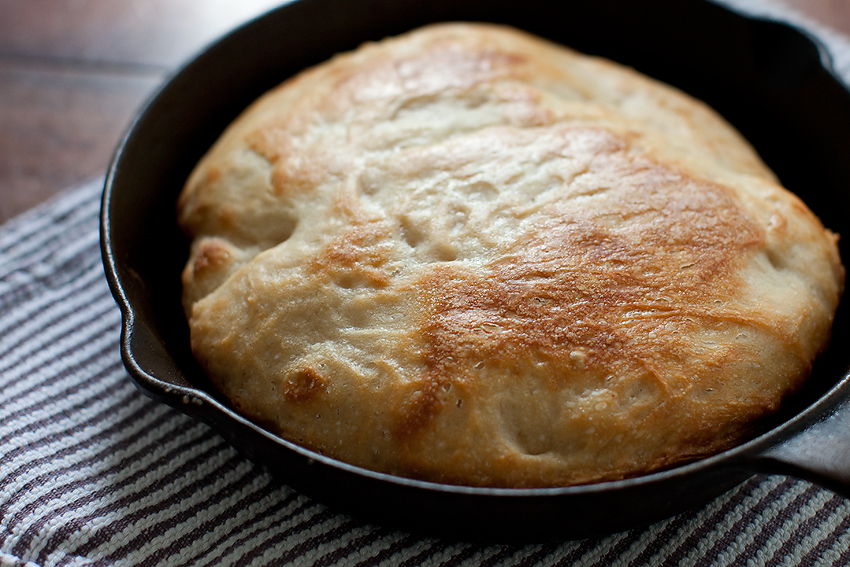
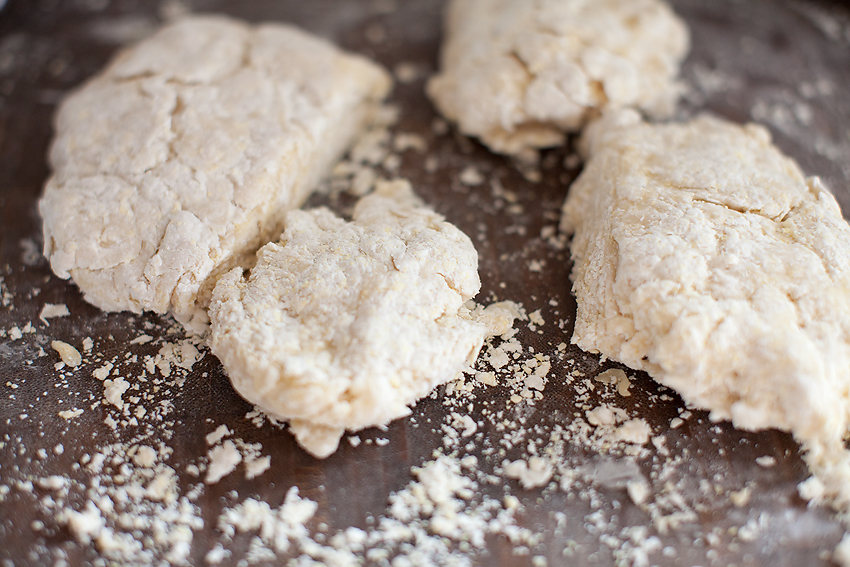
Combine all ingredients in a mixing bowl. The dough will be shaggy and sticky. Transfer the dough to an oiled bowl (covered with a towel) to sit for 12-18 hours. This is where the magic happens! Pour the mixture into an oiled cast iron skillet and bake it (at 450) covered for 30 minutes and uncovered for 15 minutes more.
Can we talk about carbs for a sec? They’re best homemade. I can pass by pretty much anything that comes from a grocery store, but if you bring me your freshly baked cookies, pie or bread? Done. I can gain 5 pounds on that stuff.
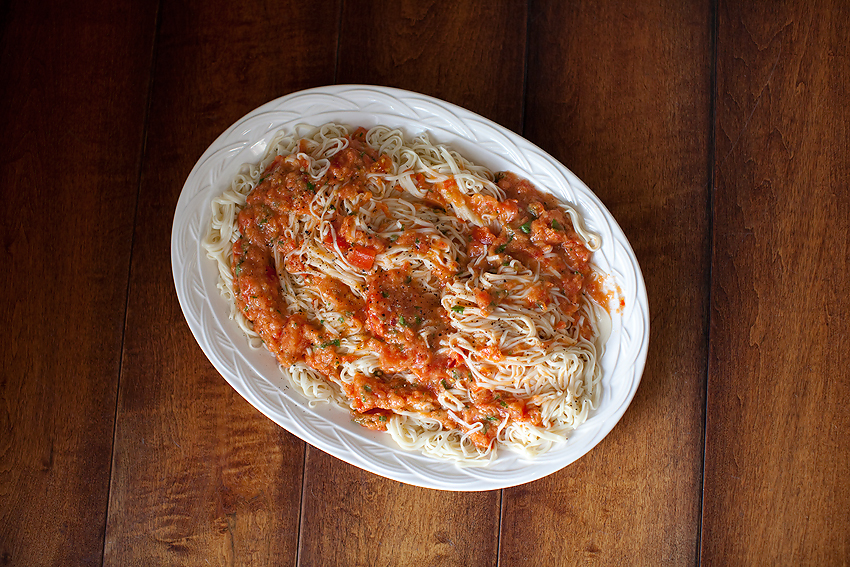
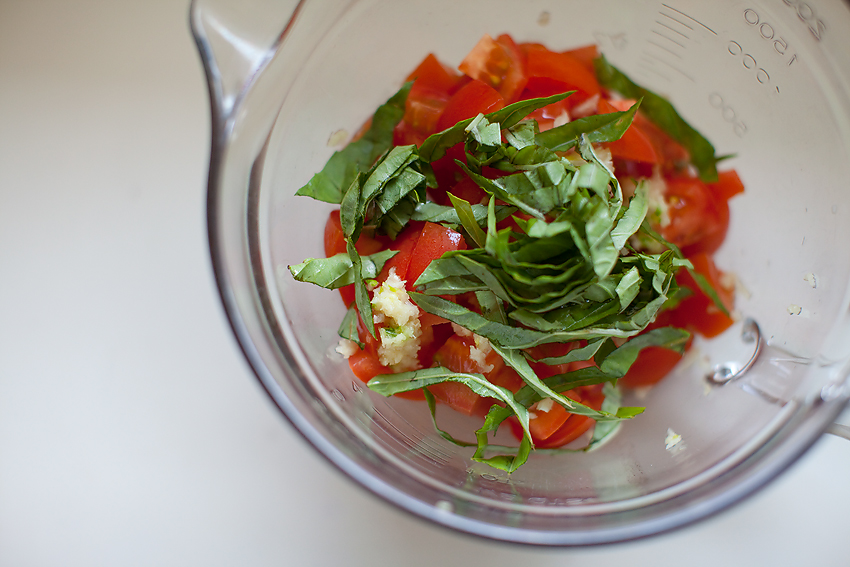
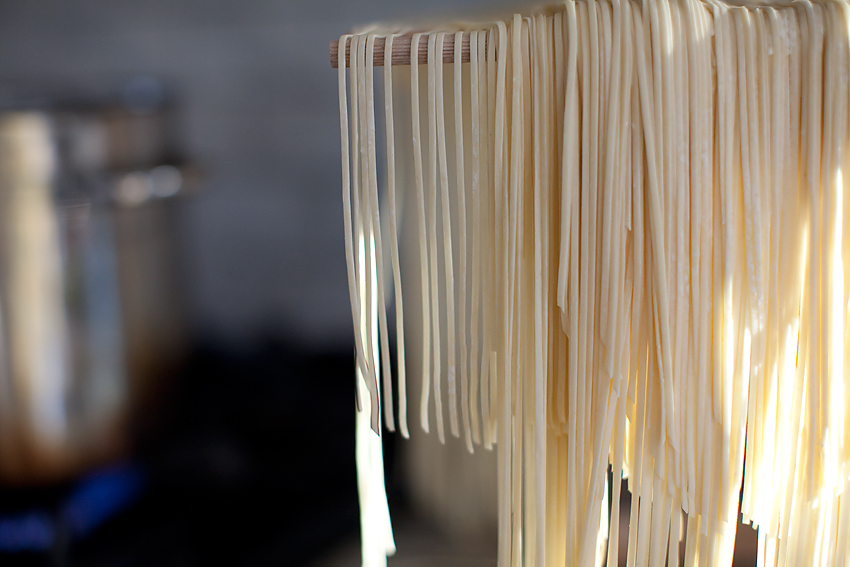
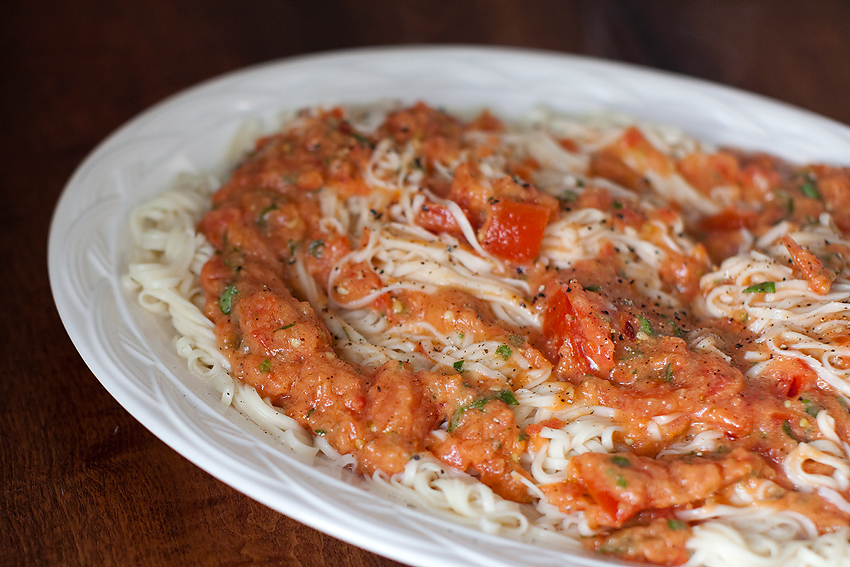
Homemade pasta is no exception. It’s a simple combination of flour, eggs and water, but once kneaded and thrown into a bath of boiling water, it’s carb-a-licous! Homemade pasta sings on it’s own, so a simple sauce is all it needs. In this case it’s tomatoes, basil and garlic. Scroll all the way down to see the recipe.
Pasta: (Makes 6 servings)
2 cups flour
2 eggs
You can click here to see photos of making pasta. It involves a big heap of flour with a well in the middle. Put your eggs and a few tablespoons of water in the well. Use a fork to toss and toss until the dough gets to the point that you can knead it. It will be a dry dough, so use your muscles!
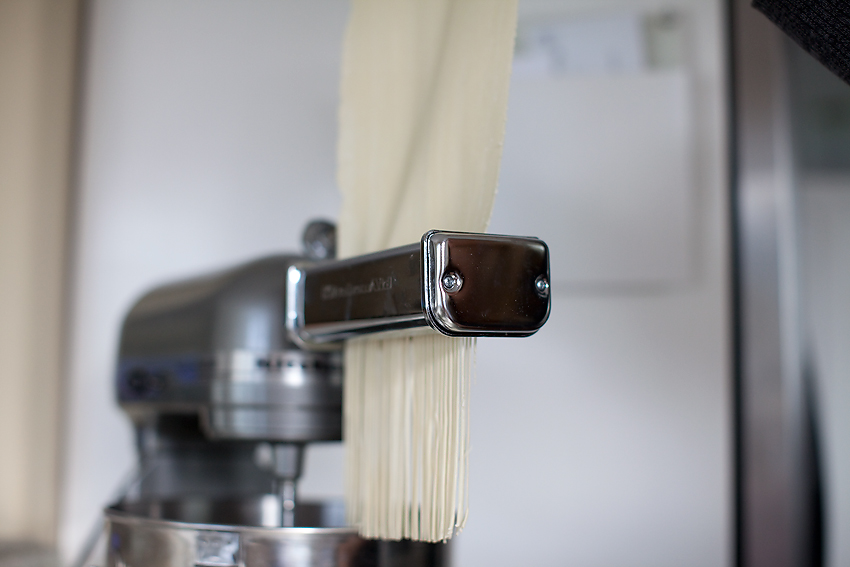
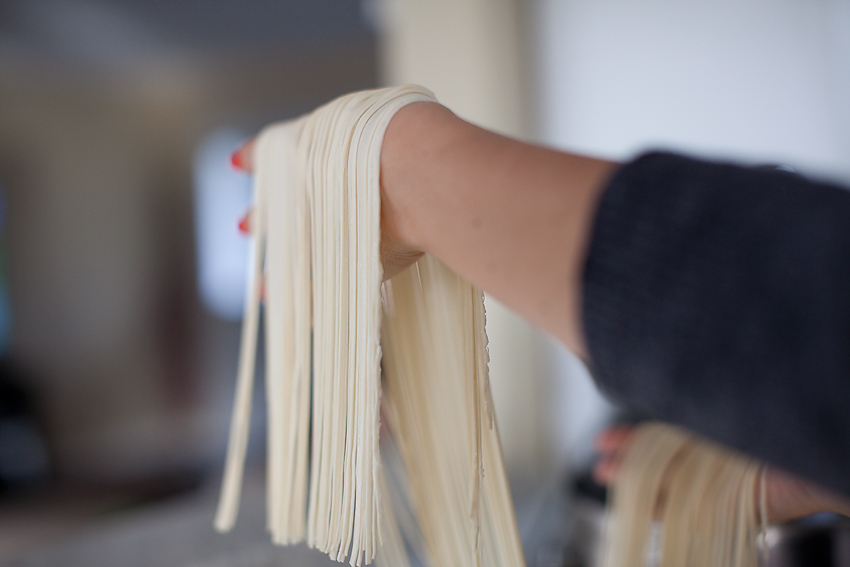
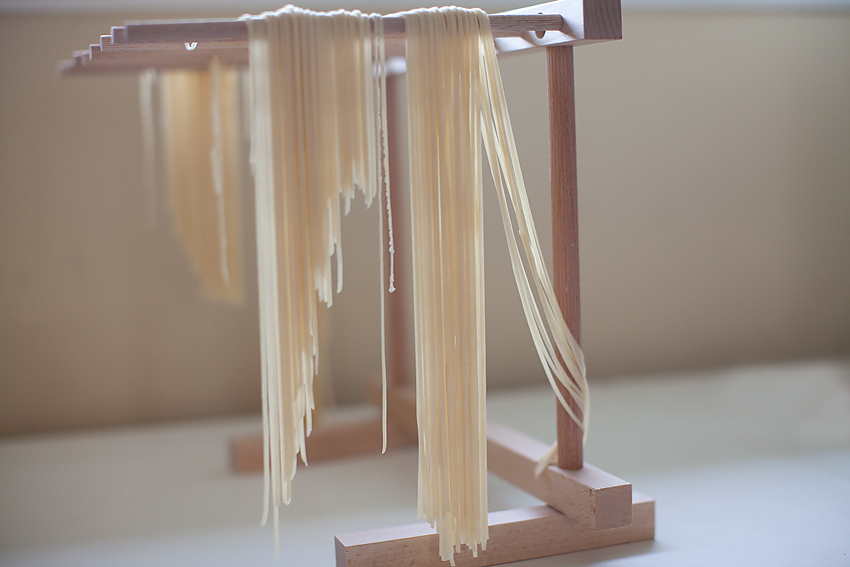
If you have a pasta roller, push the dough into flat ovals that you can push through the roller. You’ll want to run the machine at thinner settings until you get the consistency you like. I ran it through a level 5 then once again through the cutter to make the spaghetti.
*On a side note, I LOVE my kitchen aid attachment. It’s so easy to use and pretty much fool proof!
Sauce:
4-5 ripe tomatoes
3-4 basil leaves
3 cloves garlic, crushed
1/4 cup olive oil
This is a rough estimate for the sauce. Make adjustments according to your tastes. The key is to let it sit for at least an hour for the flavors to meld and add salt and pepper to taste.
Categories
Subscribe to be notified about special session prices and availability!

