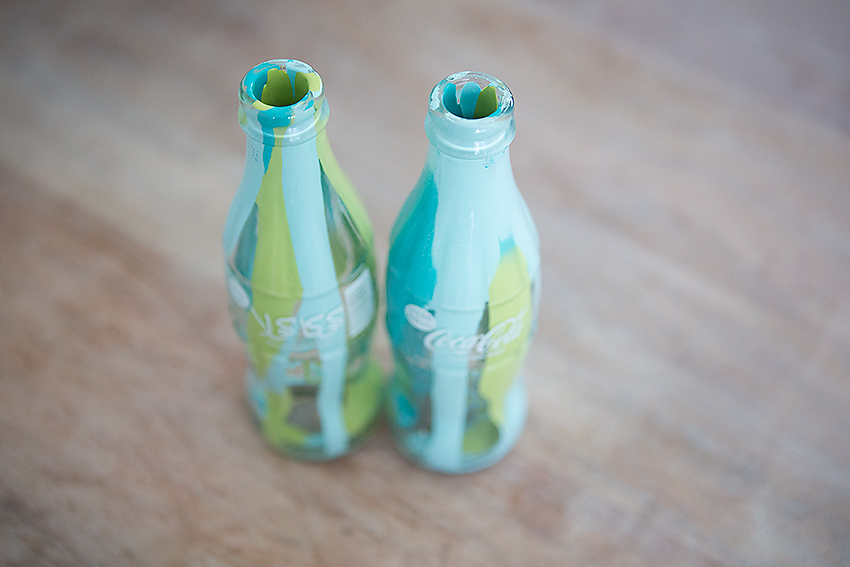
If you’re a fan of 10 minute projects like me, head over to Little Skye blog where I’m guest posting about Bottle Art today. My brother brought home these coca-cola bottle from Oman. I loved the Arabic writing and wanted to add them to my shelf. I love how the color turns them into art!
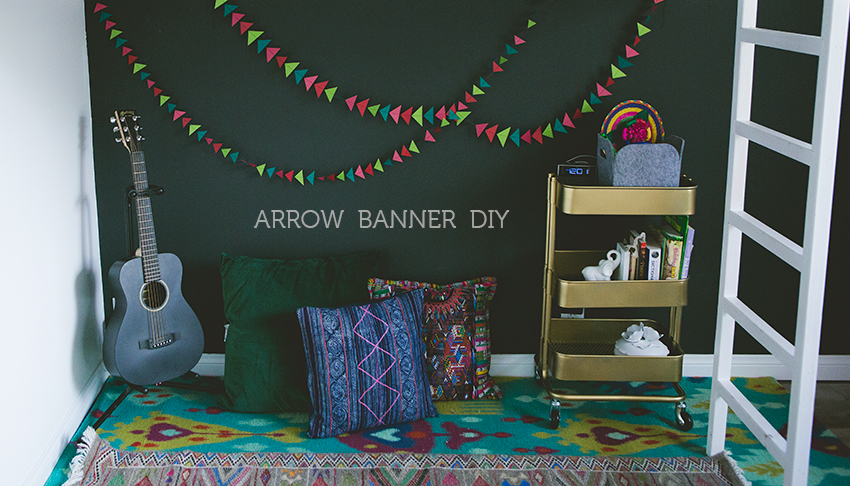
Here’s a sneak peek at Jillian’s grown-up room…
I also guest blogged about how I made the arrow pendant/banner over on Little Skye Children’s Boutique. Go check it out!
In other news…I added a new date for the Spring mini-sessions with the couch. March 30! I have a few more Sunday afternoon spots left, so contact me (buttons on the left) to book your spot.
Looking for an easy weekend craft for Valentine’s Day? You might have all the things you need to make this at home! Check out my latest DIY at Little Skye Kids!
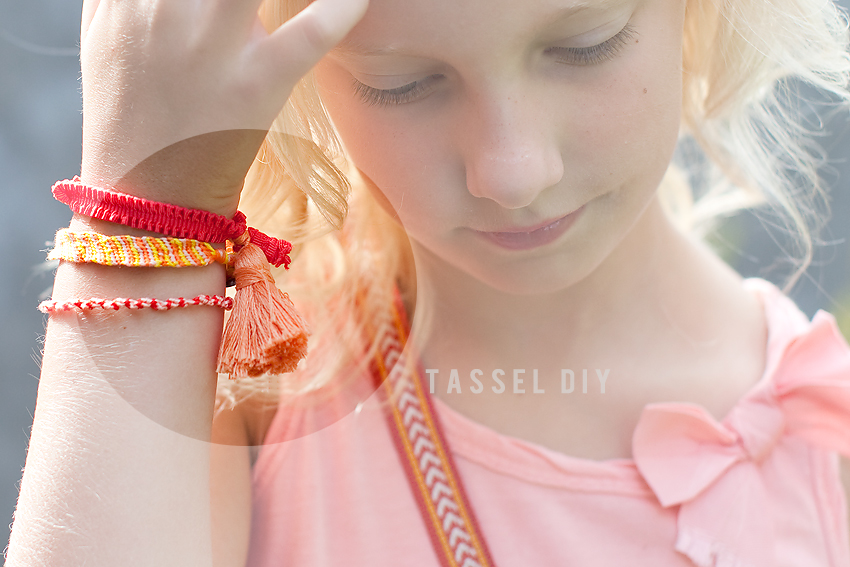
I’ve been adding tassels to everything these days. My daughter has to wear a uniform to school, so we are always brainstorming ways to keep her outfits unique. It’s so easy to make a tassel with a simple package of embroidery floss, so we’ve been adding them to sweatshirts, pencil pouches and everything in between!
I just wrote an easy tassel DIY over on Little Skye kids, so if your looking for a 5 minute project go check it out!
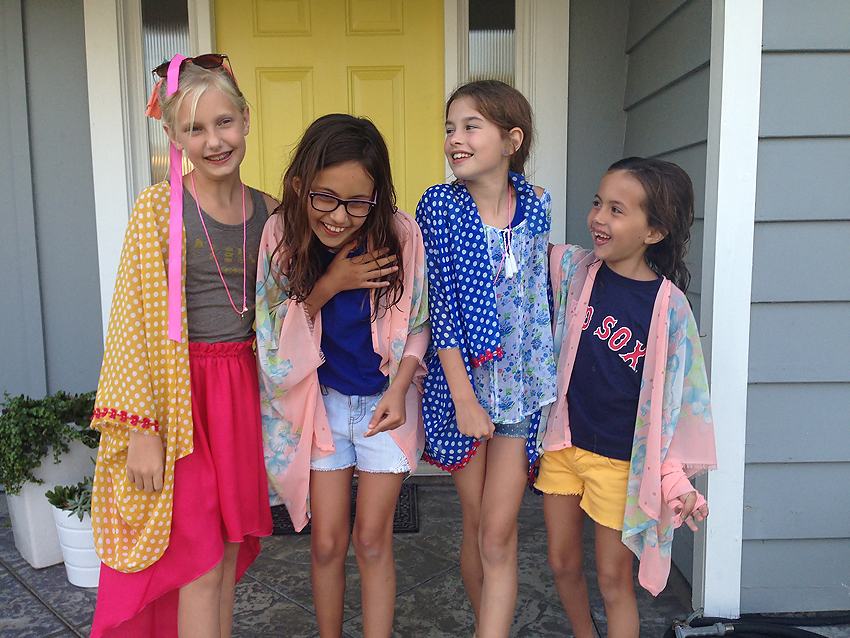
I’m still picking thread off my clothes from the kimono-making party I had with my daughter Jillian and her friends yesterday. I posted the kimono DIY here and it was as simple as sizing down the pattern by a few inches to make it kid-size. Summer is definitely the time to teach kids something new, something COOL. Without the pressure of homework and sports practices, we have more hours in the day to play and plan out purposed activities.
I’m over on Modern Parents Messy Kids today talking about Taking the Time to Teach Your Kids Something New. And I gave lots of examples, so hopefully it’ll inspire you to get out there! Have fun! Learn something! (PS. We only have a few weeks left before school starts again!)
I’ve been seeing kimonos everywhere, so I decided to try a Kimono DIY! Turns out it’s pretty simple. Just 5-8 seams…depending on if you want to leave any of the edges raw.
The best kimono I own was purchased at Prism Boutique in Long Beach. Dayna’s got an amazing selection of kimonos and the one I bought has the softest fabric and prettiest pattern. I tried to find similar fabric downtown LA and got similar but not exact. So, if you don’t sew or just want to treat yourself, you should check out her store!
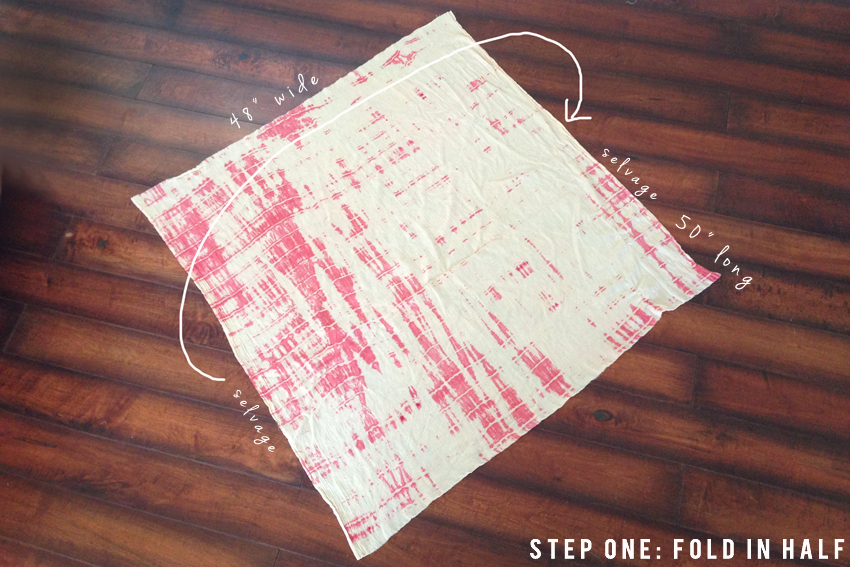
Okay, on to the DIY step by step instructions! First start with a piece of fabric that is approximately 50×50″. If you aren’t exactly there, it’s okay…kimonos are so loose, so a few extra inches plus or minus won’t affect the overall look. For this particular kimono, I used a gauzy cotton (and mine was only 48″ wide). Then fold the sides together (selvage end to selvage end)
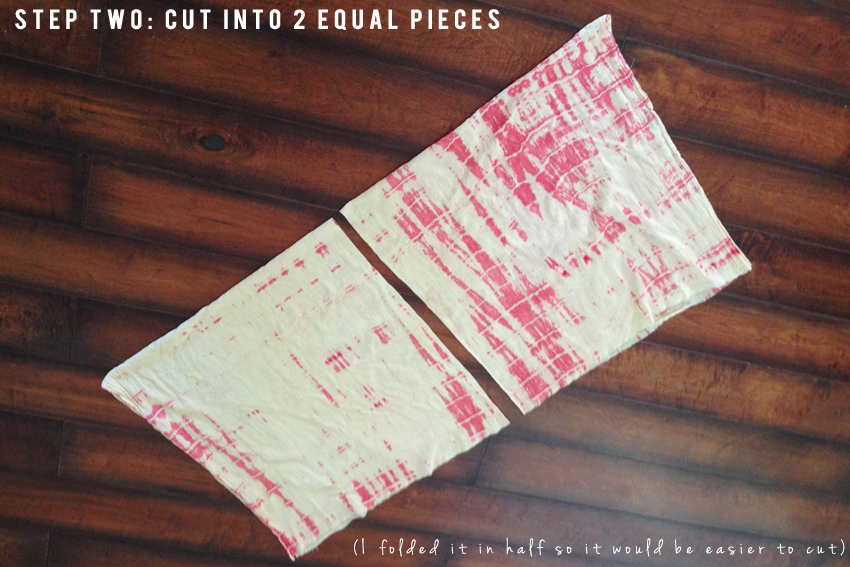
Cut the fabric in half lengthwise and the fold it in half.
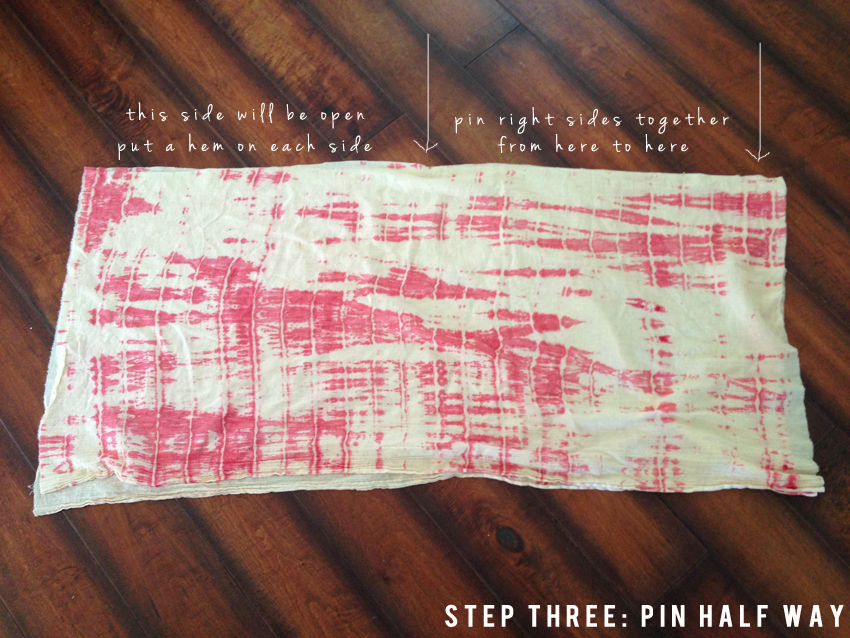
Pin the right sides together half way down and sew them together.
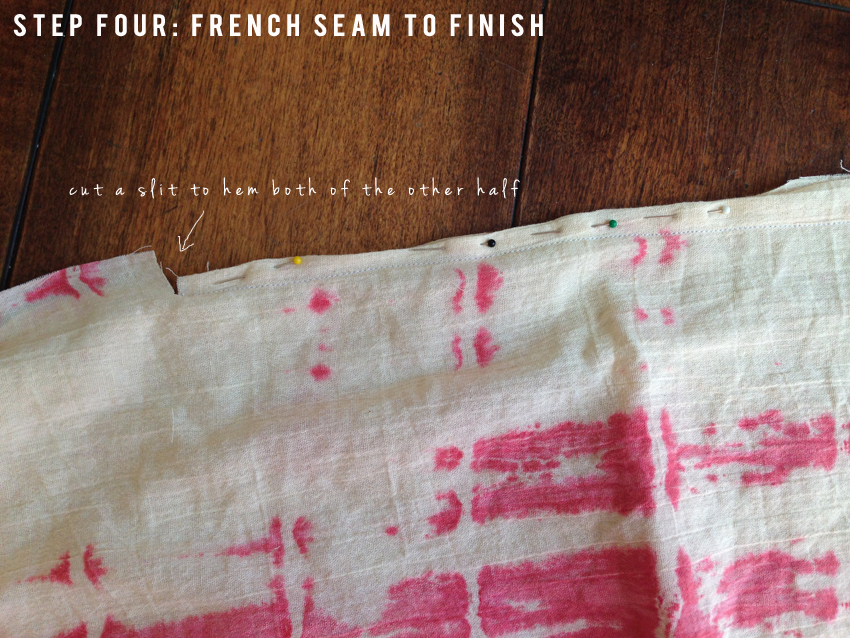
I like to finish it with a french seam (which just means folding the edges in on each other so they don’t fray). Then I cut a small slit where the seam stops half way down.
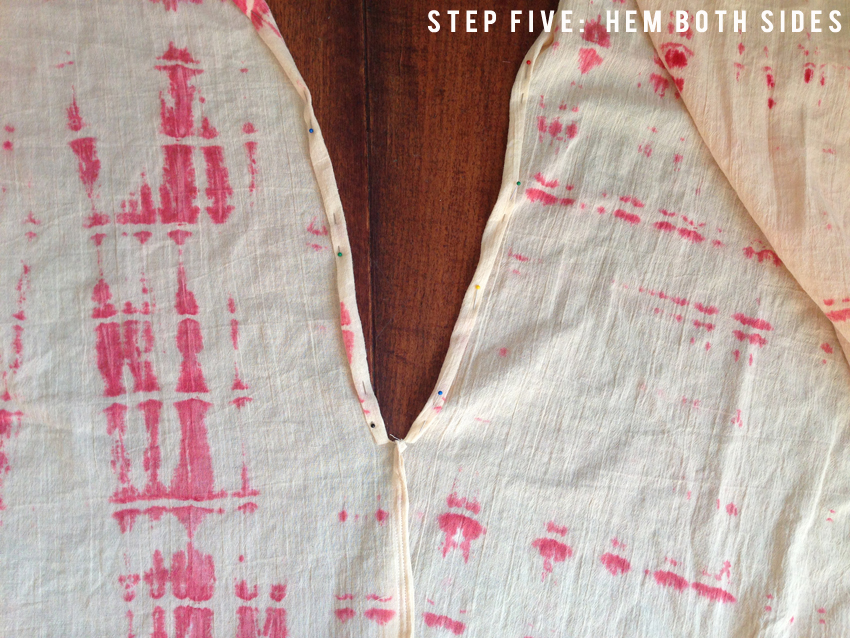
Pin and hem both of the open sides.
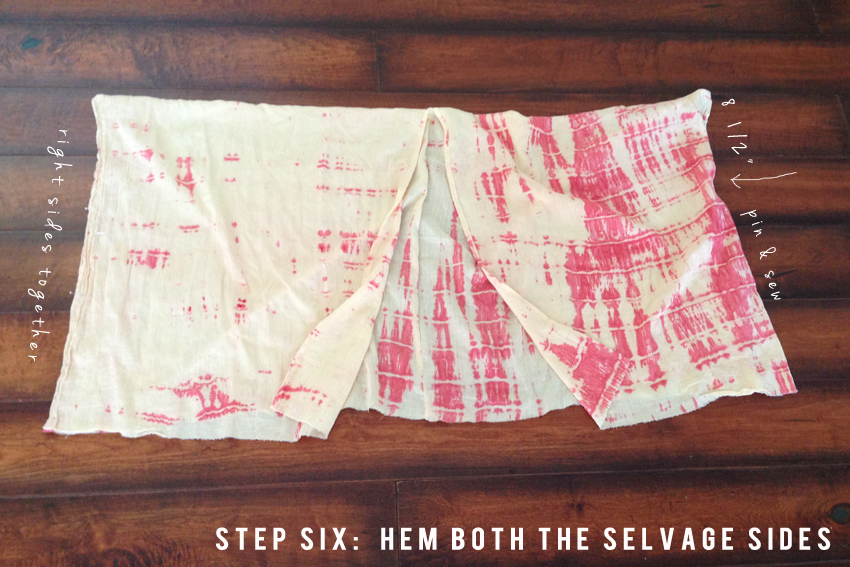
Fold your fabric in half (right sides together) with the seam in the middle. The french seam will be running down the middle of your back when you wear it. Now you need to sew arm holes, so pin 8 1/2″ down to the bottom (leaving an 8 1/2″ opening at the top for your arm) and sew right sides together. You can finish with a french seam here.
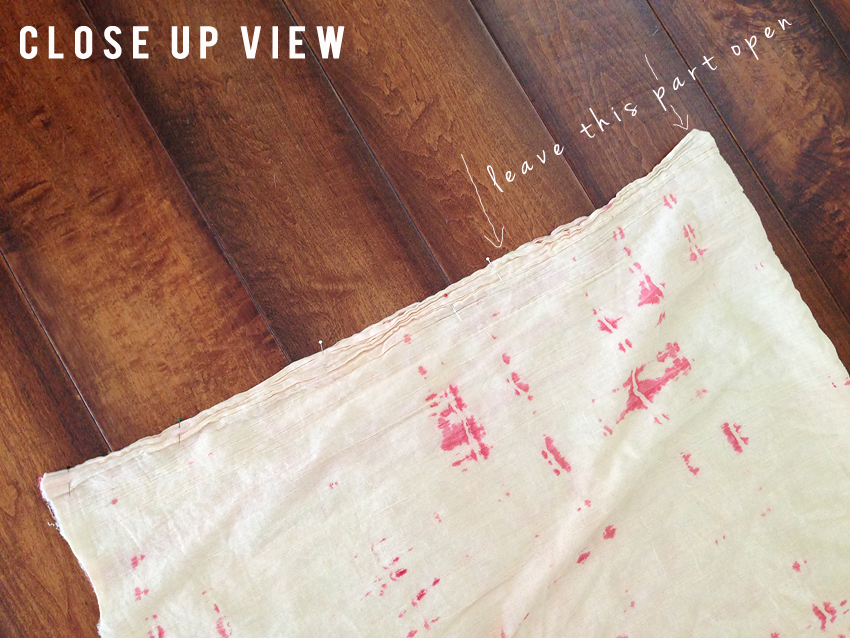
I decided to leave my arm holes raw since the selvage won’t fray, but you can sew a seam here if you want.
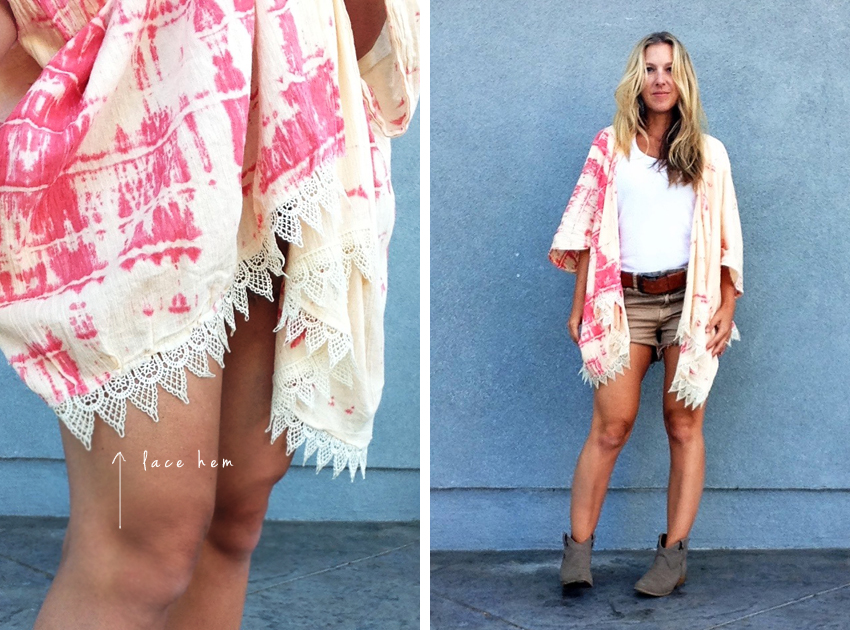
You can also leave the hem around the bottom raw or finish with a trim. I added a lace trim to mine. Easy Peasy!
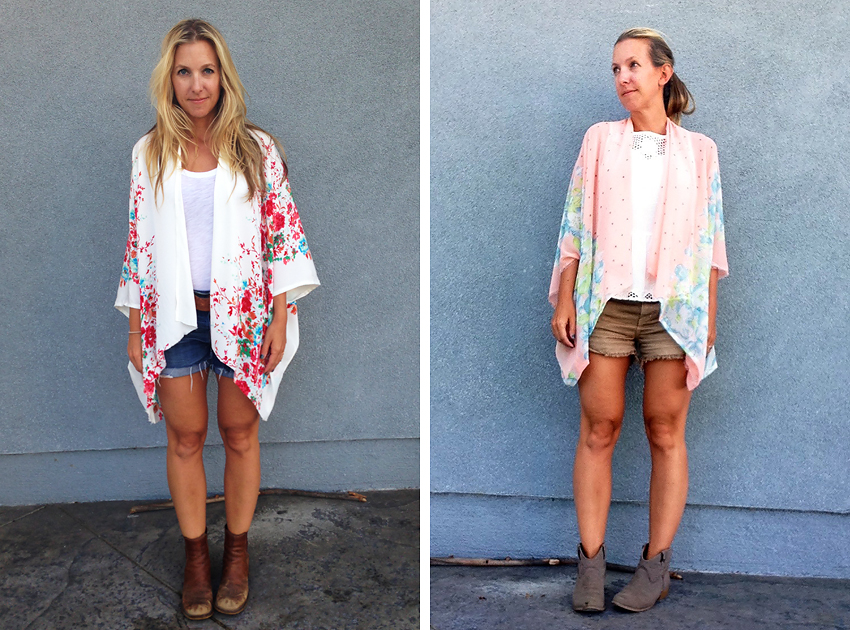
You can experiment with different fabrics and lengths of fabric for different fits. Here’s a few other kimonos that I recently made!
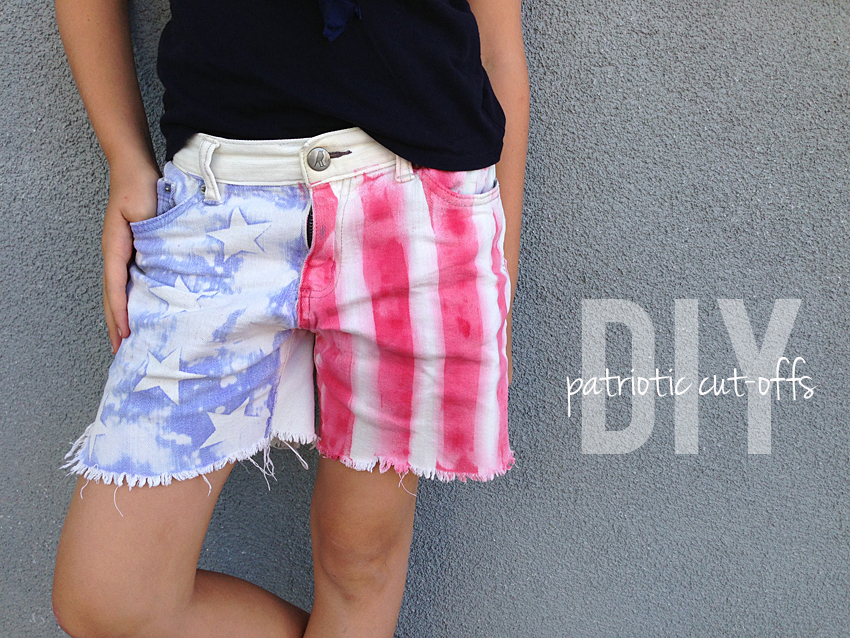
Looking for a little summer DIY to do with your kids? Try these patriotic cut-offs! I was inspired by my friend Laura’s (Ascot Friday) American Flag DIY, so I translated it to a kid version. Go over to Little Skye Kids Blog to check out all the steps.
Happy summer crafting!
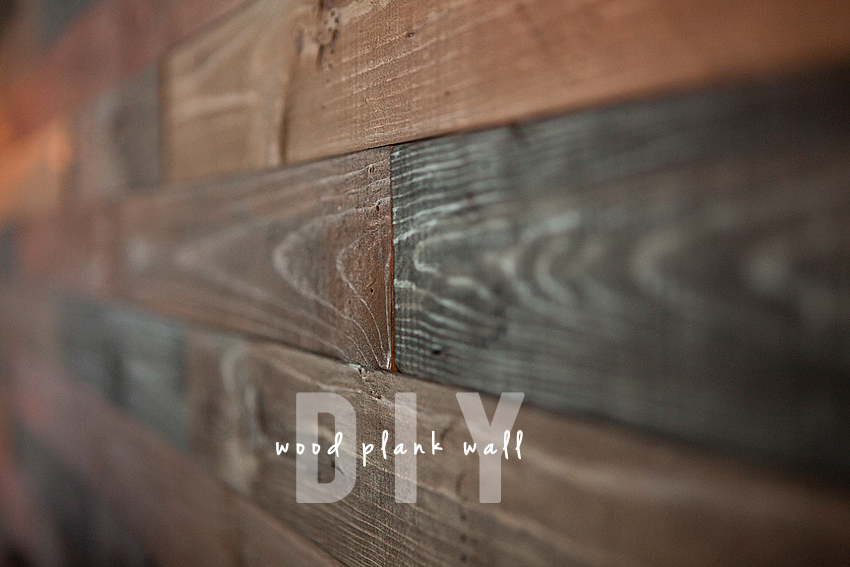
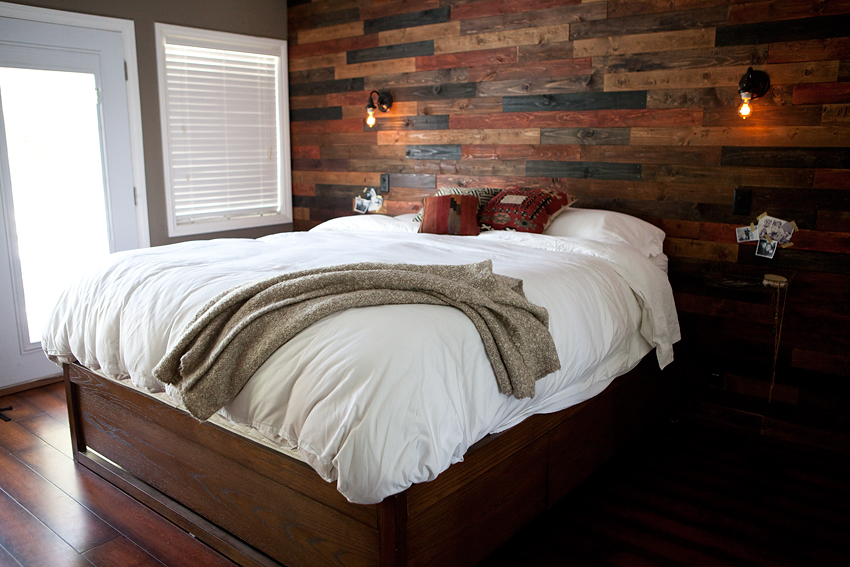
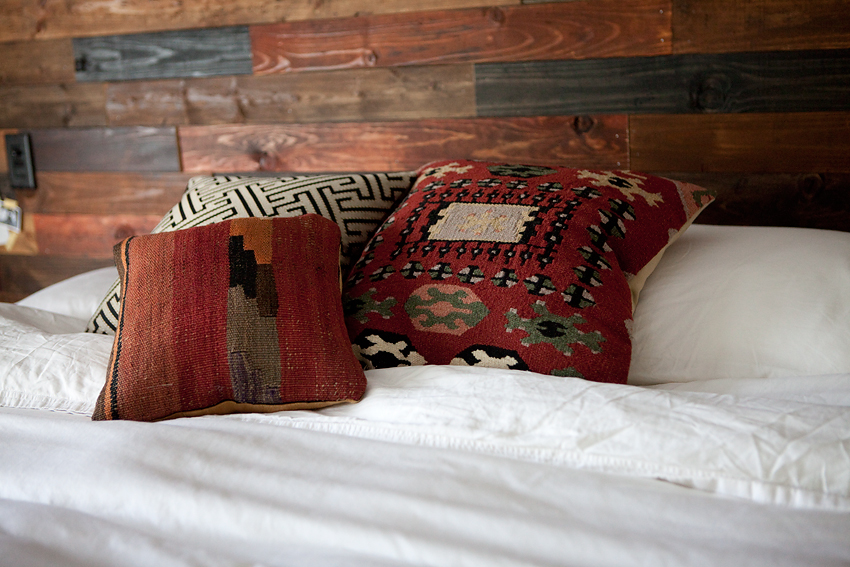
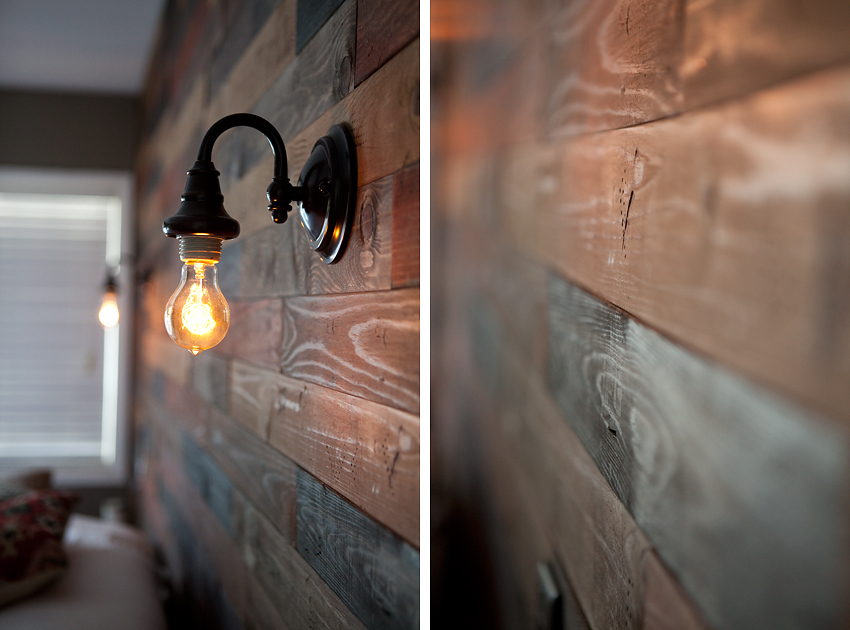
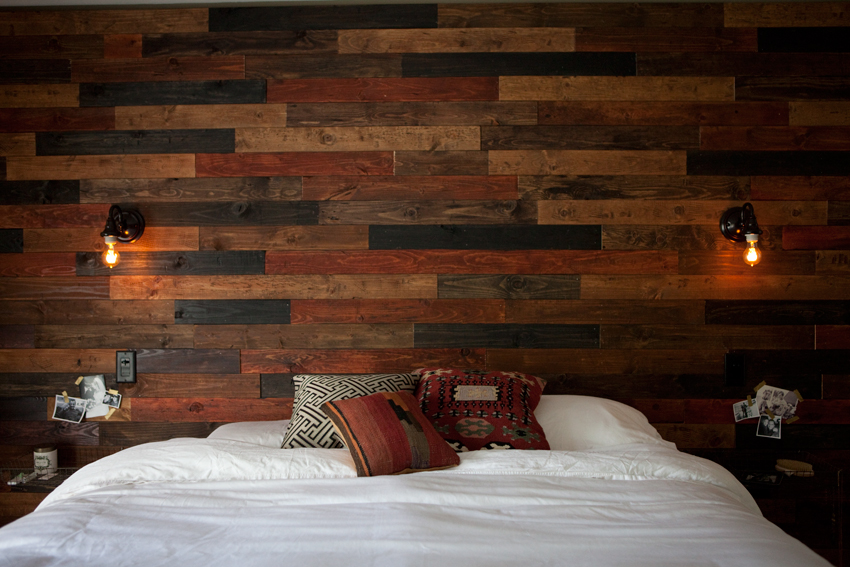
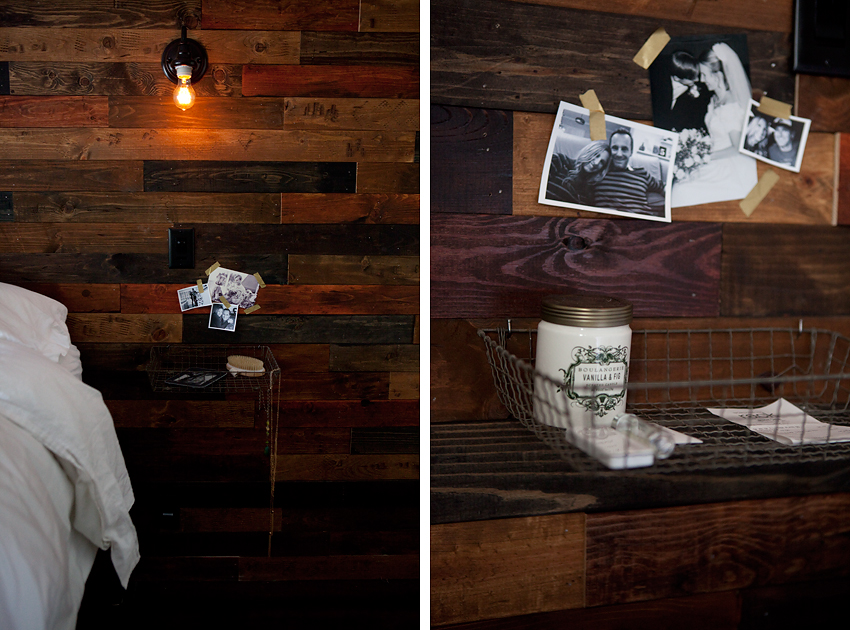
We recently completed a project in our bedroom (a diy wood plank wall) that has me dragging every stranger and friend into our house to show it off! The inspiration came from the walls that are inside the OC Mart Mix. We know our limits…so we knew we’d need some help on this project. We enlisted our contractor to help us with the final installation, but the leg work started with us.
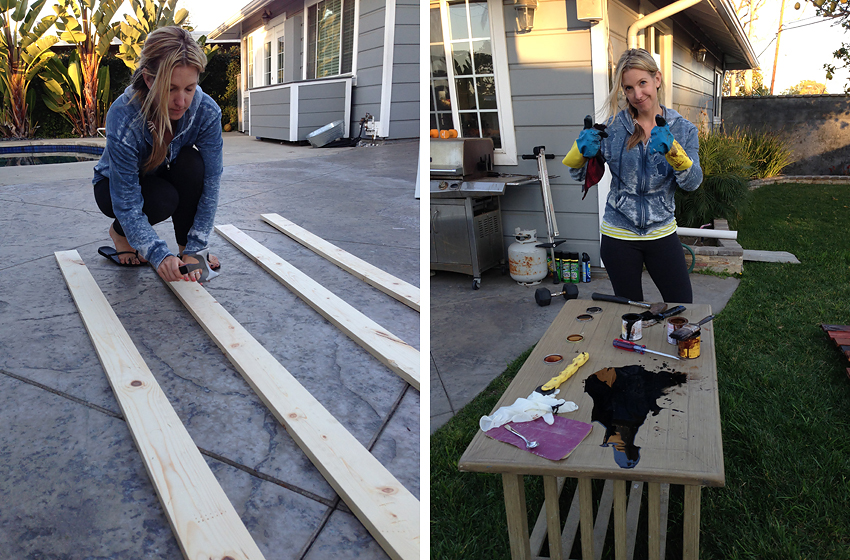
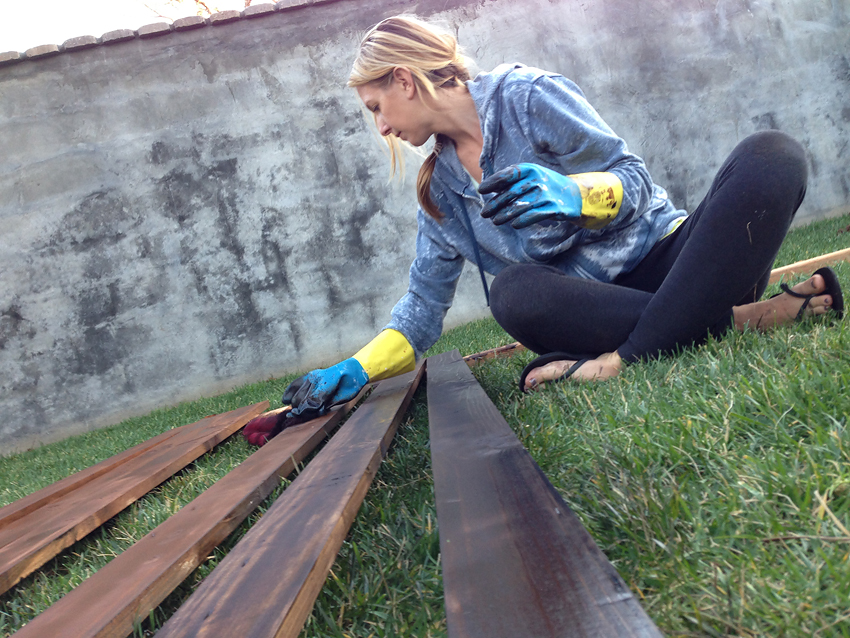
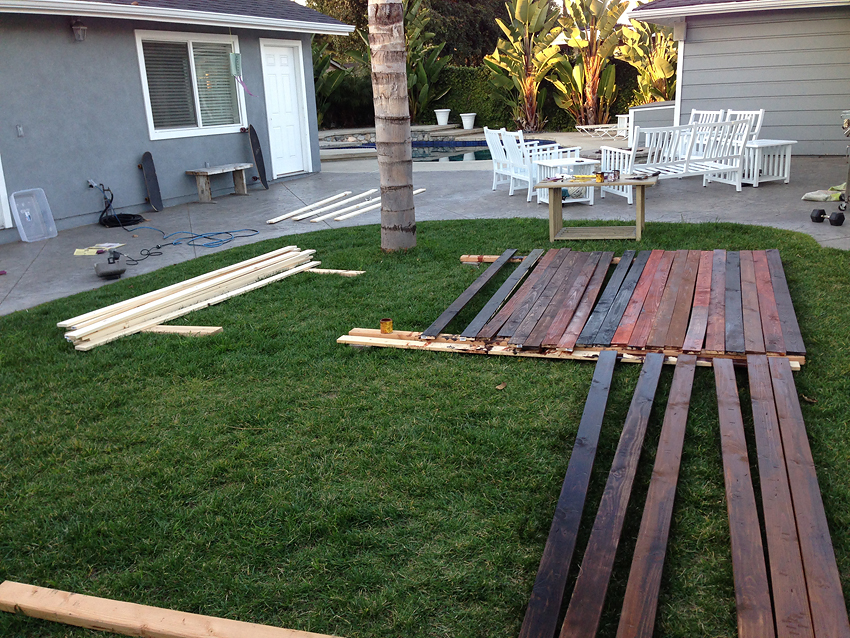
First off, we headed to Lowes to purchase pine. Lots and lots of 1×4 pine boards. After hauling all that wood home, we started distressing. I’m talking everything from kitchen utensils to an ax. Brent set up a little work station for us in the backyard and we lined up all the wood for staining. This process took quite a bit of time and about 5 cans of stain. I mixed some of the colors and tried to apply them un-evenly so they would have a worn look.
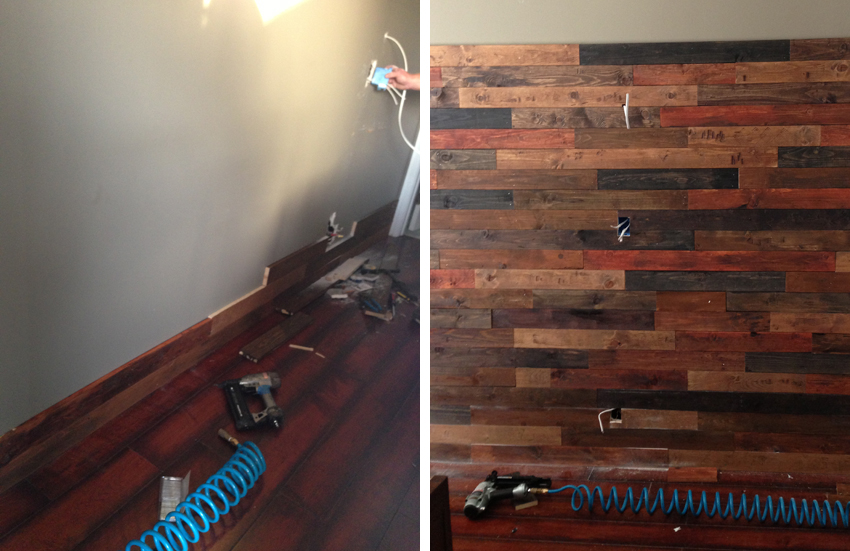
Here’s where the contractor comes in…he and Brent cut the boards into various sizes and then he nailed them to the wall with a nail gun. He used some spacers so that some of the pieces would be lifted and create a less-than-perfect look, which is what we were going for.
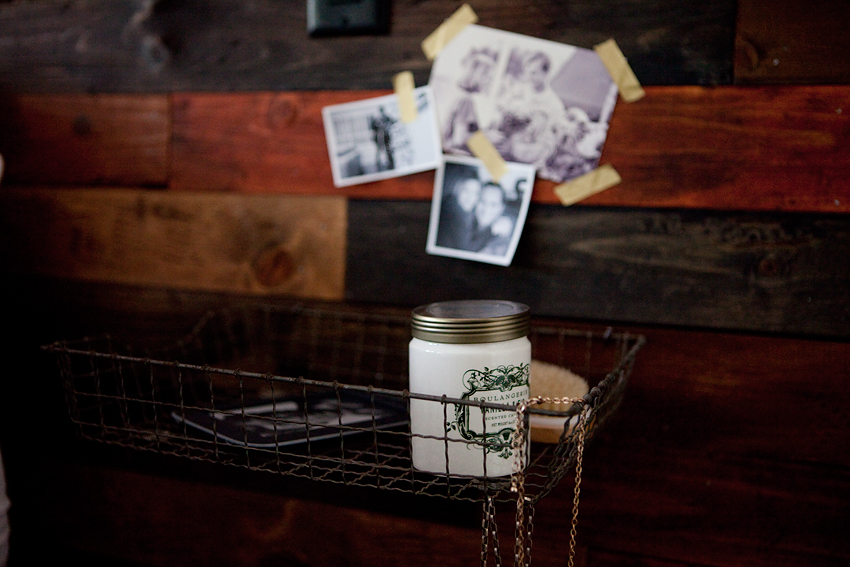
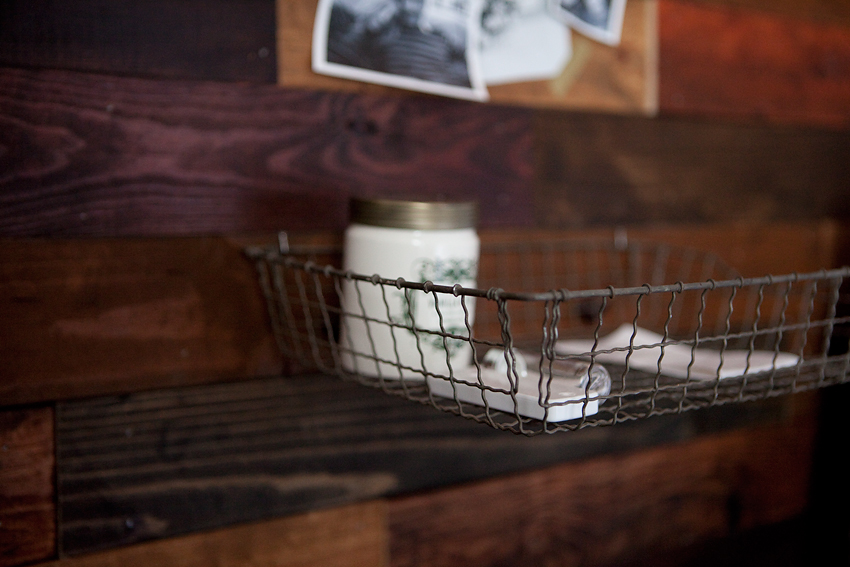
We also decided to have him wire some sconces on each side. I went with this sconce from Lowe’s and left off the light shade for a more industrial look. Later, we installed wire baskets to the wall for night stands. I ended up changing out my pillows to these kilim ones and made the graphic black and white pillow for contrast. Oh and the black and white photos are a mix of old photos and instagram photos attached with washi tape.
//photography by Kristin Eldridge in Long Beach
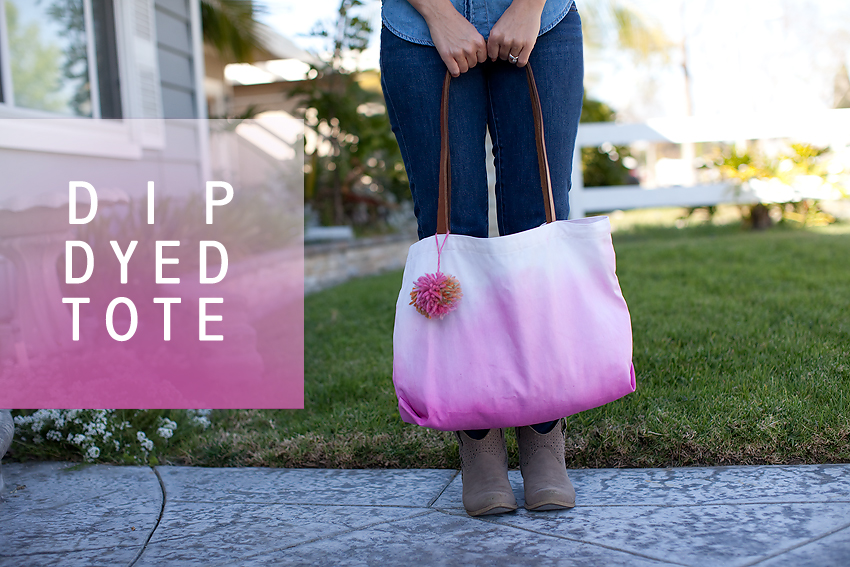
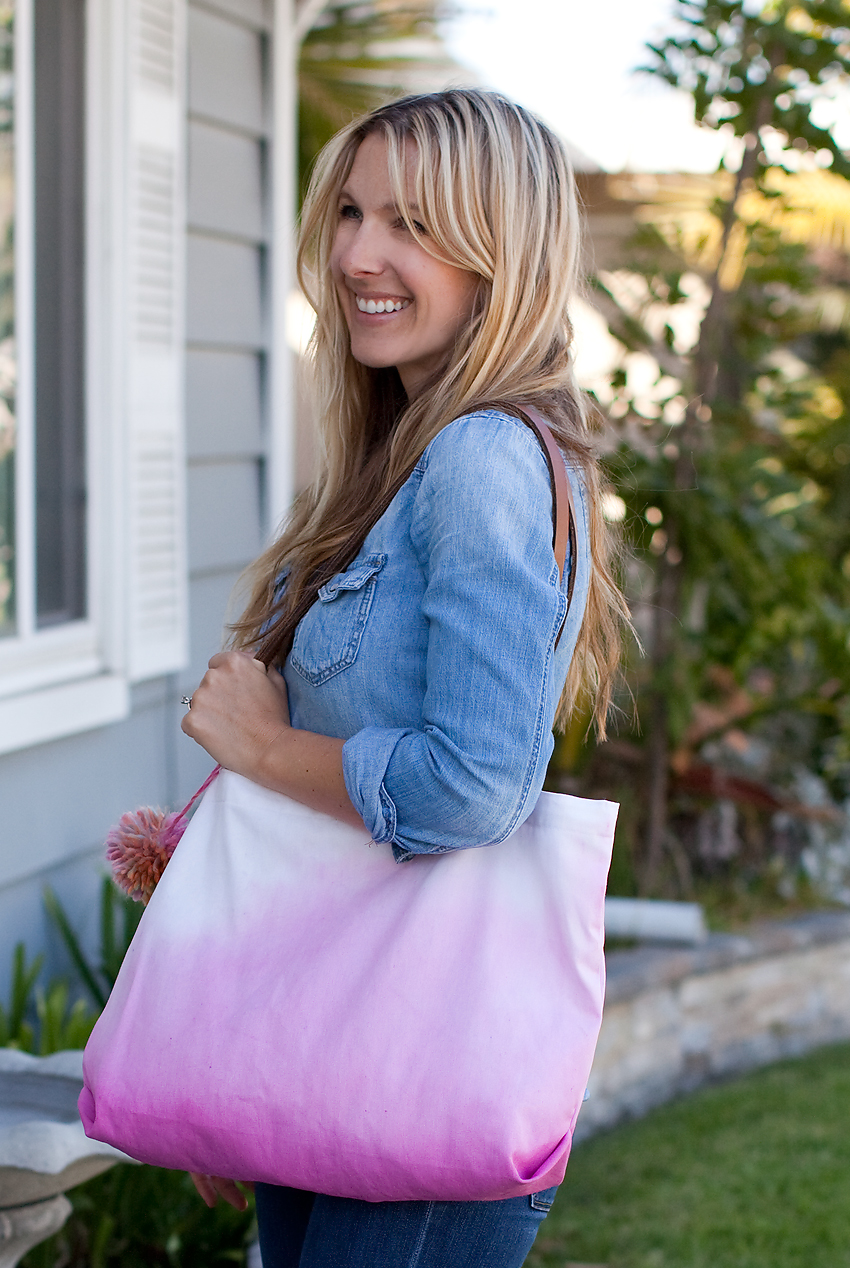
I saw this tutorial for Dip Dyed Easter Totes on the Small Fry Blog. It’s such a cute idea, so I wanted to steal it for myself!
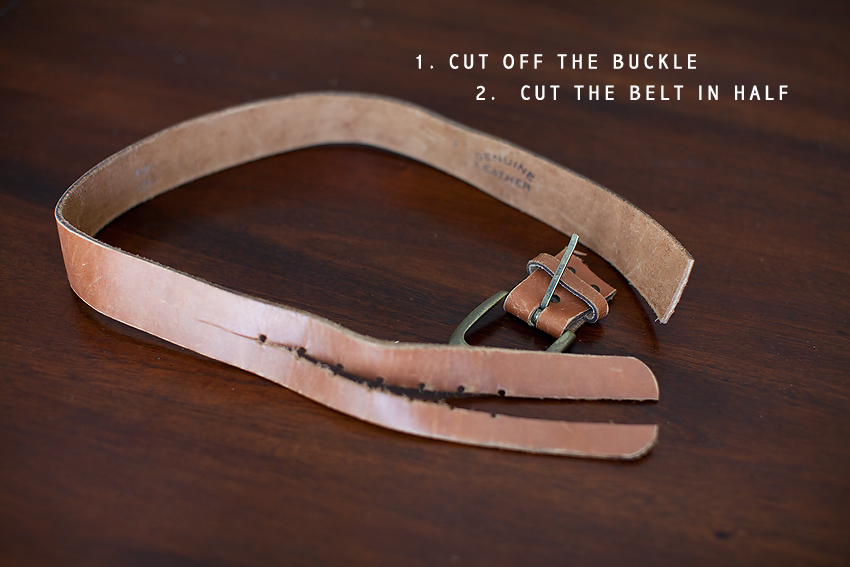
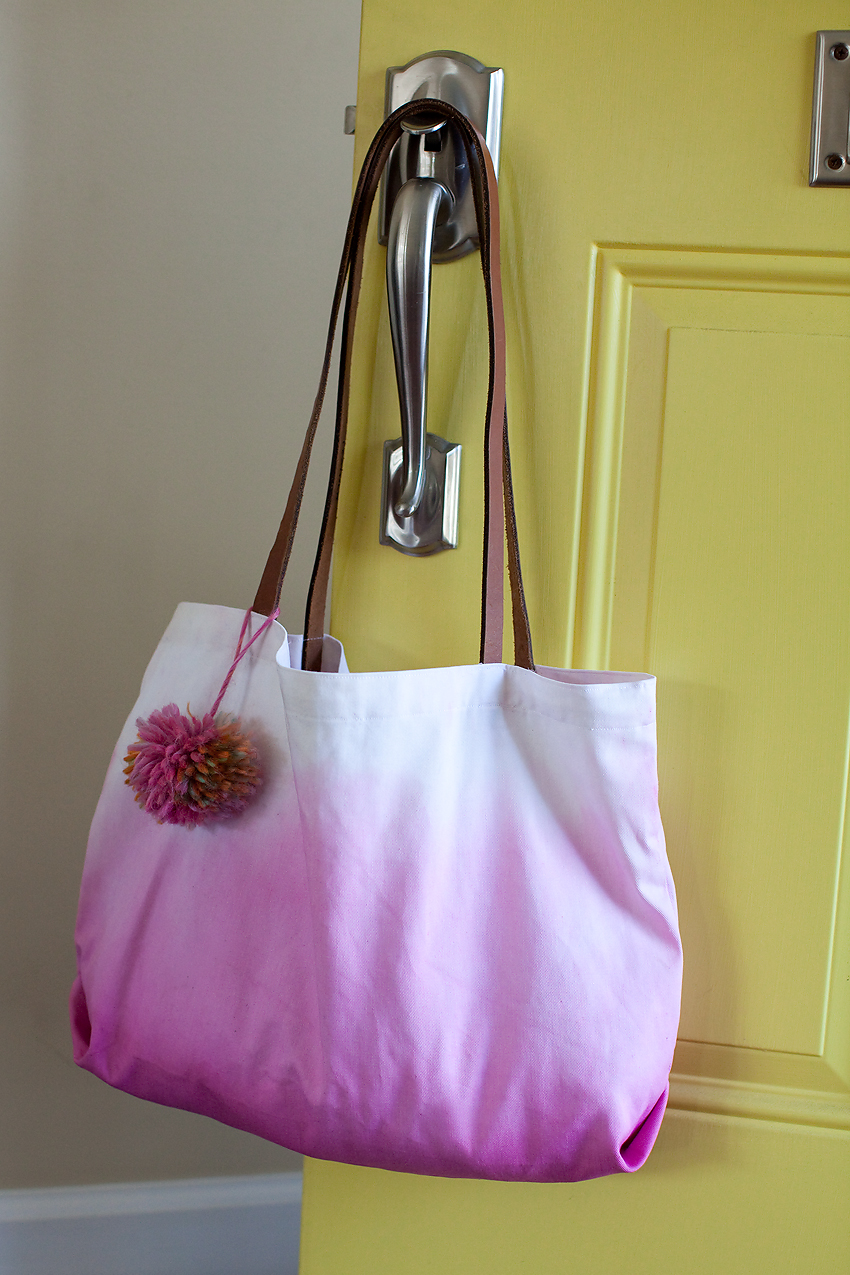
I got to thinking that leather straps would be so cute, so I picked up an old leather belt for $3 at the flea market. Just cut off the buckle and then cut the whole thing in half. Make sure you get a belt that is both long enough and wide enough. The whole for the belt buckle bothered me, so I trimmed it down a little so they wouldn’t show.
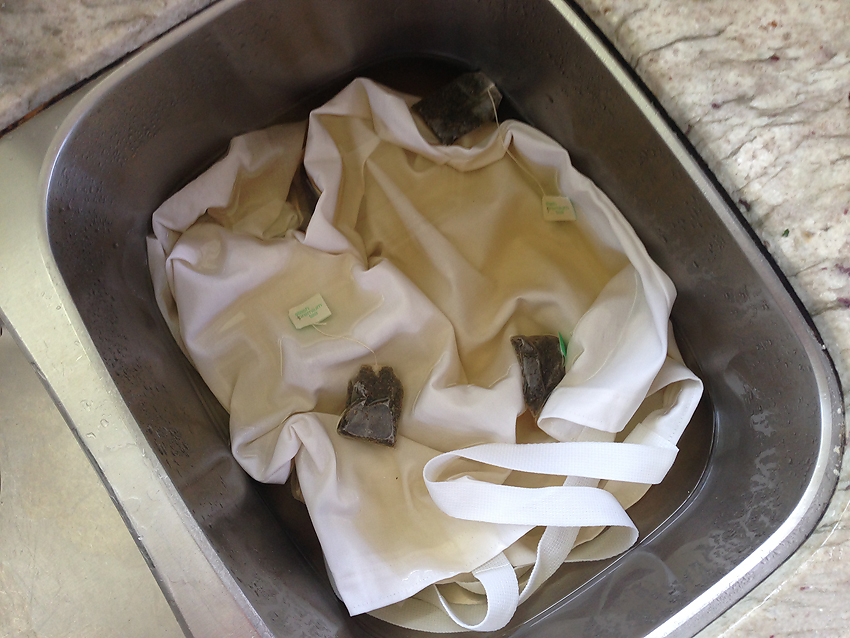
Next I picked up a $5 canvas bag at Joann’s Fabric in white. It was a little too stark white for my taste, so I soaked it in tea bags for an hour, so the color was slightly off white.
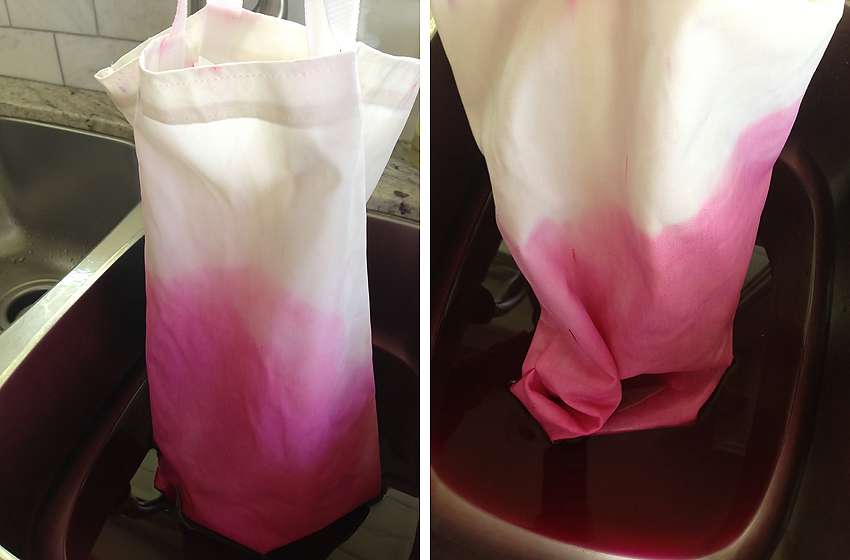
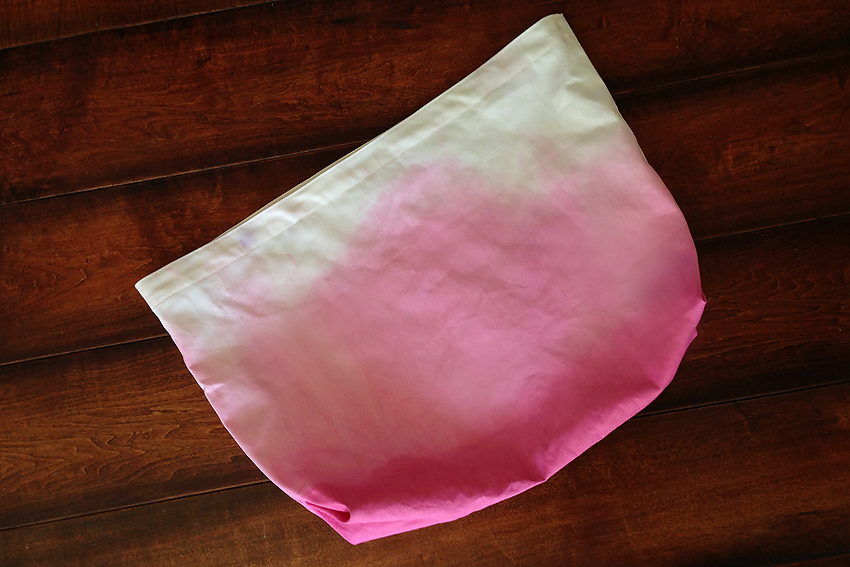
Next I filled the sink with hot water and some magenta RIT dye. I did a quick dunk about 3/4 of the way up, then I started dipping it for longer and longer as I got toward the bottom. The whole process takes about 5 minutes and there’s really no ‘right’ way to do it. After I was done, I gave the canvas a quick rinse and hung it to dry.
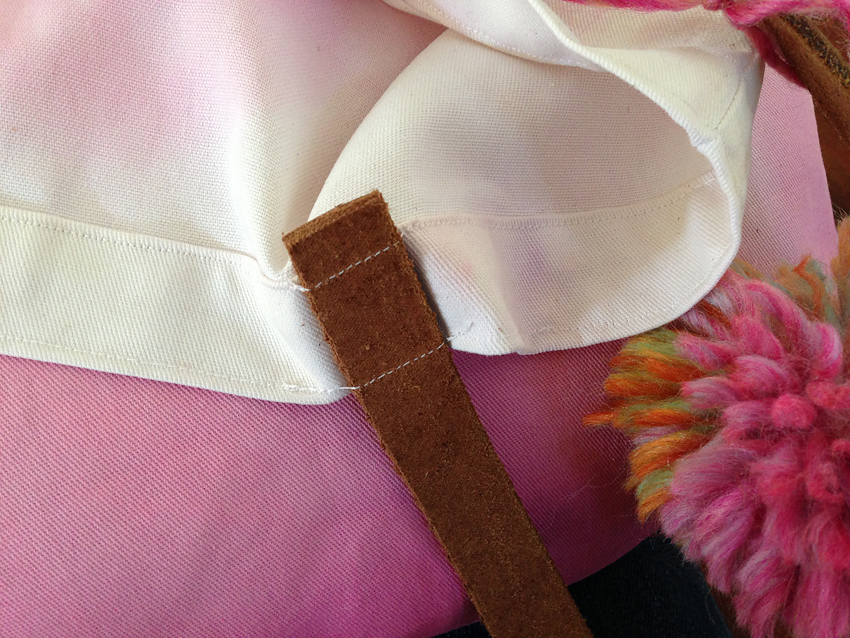
I cut off the top part of the bag and made a new hem to attach the leather handles.
The leather isn’t too thick, so I was able to sew it on to the bag with a denim needle. It’s attached by two seams and it’s holding up just fine!
I’m ready for spring with my new dip dyed tote!
I’ve attached a pom-pom for a little fun, but how cute would this be with a patterned silk scarf tied at the top?!
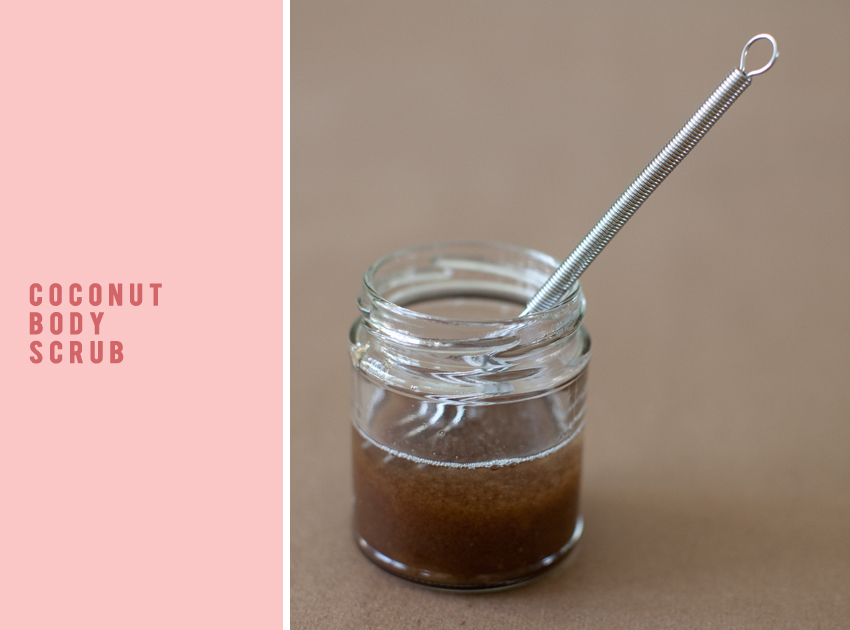
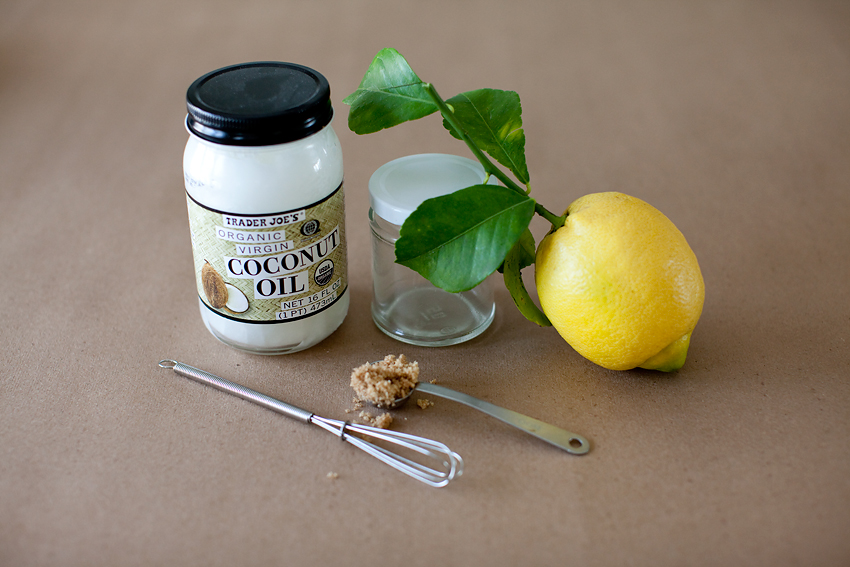
I was chatting with a friend about her coconut oil brownie disaster. I love coconut oil, but to be honest with you I haven’t cooked or baked with it yet. I currently love it as a moisturizer! Mix equal parts brown sugar and coconut oil, with a squeeze of fresh lemon and you’ve got an amazing body scrub. I’ve read that essential oils can be added, but to be honest with you, I think this concoction smells pretty delicious, so I’m leaving it alone. I keep this little jar in the shower with a teaspoon and scrub scrub scrub away. You won’t need lotion…the coconut oil soaks into your skin and leaves it baby-soft.
Categories
Subscribe to be notified about special session prices and availability!

