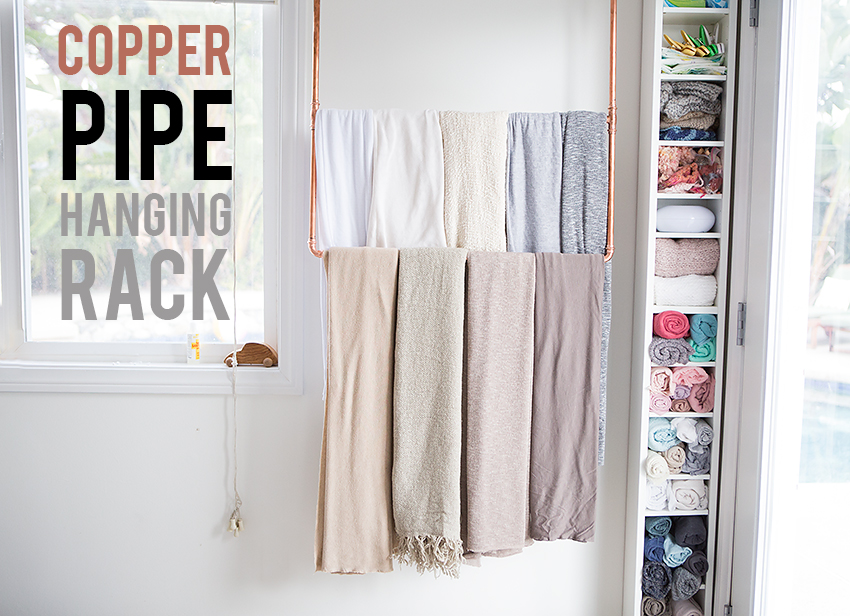
Like many of you newborn photographers, I have an overflowing supply of fabrics, wraps, knits, hats, etc. Keeping it organized in my small space can be a challenge. I saw a tutorial on Food52 (of all places!) and knew it would be the perfect DIY for my space.
I loved this project because it hangs so close to the wall. Now my supplies take up hardly any space!
Here’s what you’ll need…
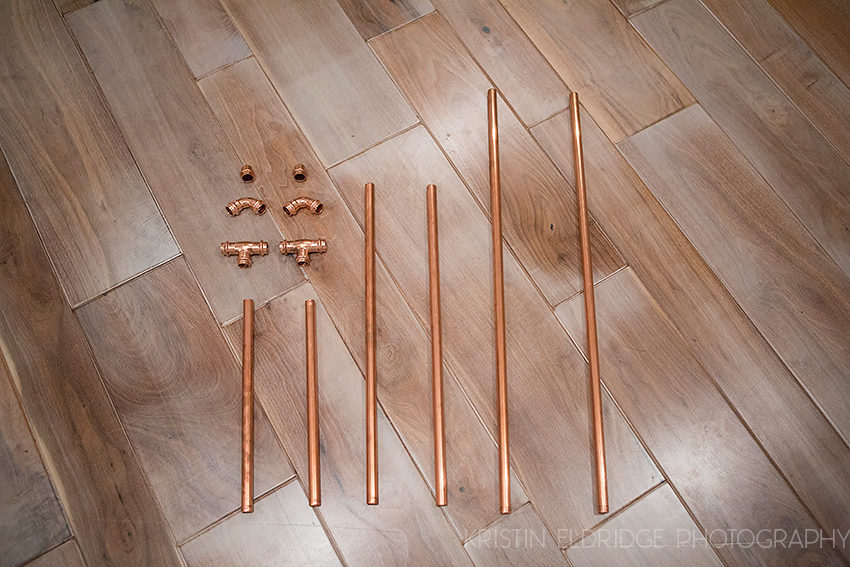
Copper pipe, fittings (2 Ts, 2 90degree and 2 end caps), rope and cement glue
The original project on Food52 has different measurements than mine. I designed mine to fit the space that I had. Feel free to adjust the measurements as needed. I also changed the way it hangs, but we’ll get to that later.
Step one:
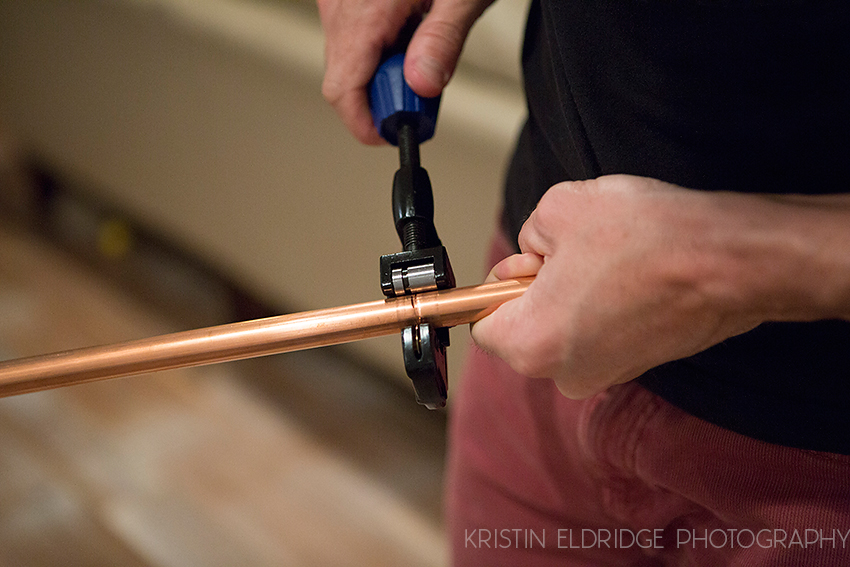
Cut the pipe. I had to purchase a 10 foot piece at Lowe’s and then cut it. The helpful Lowe’s employee told me I could cut it with a hack saw, but Brent has a pipe cutter, so that’s what you’ll see here.
I cut two 28″ pieces (the width), two 12″ pieces (the bottom height) and two 24″ pieces (the top height).
Next you’ll want to assemble everything except for the end caps. You can see how it all goes together here:
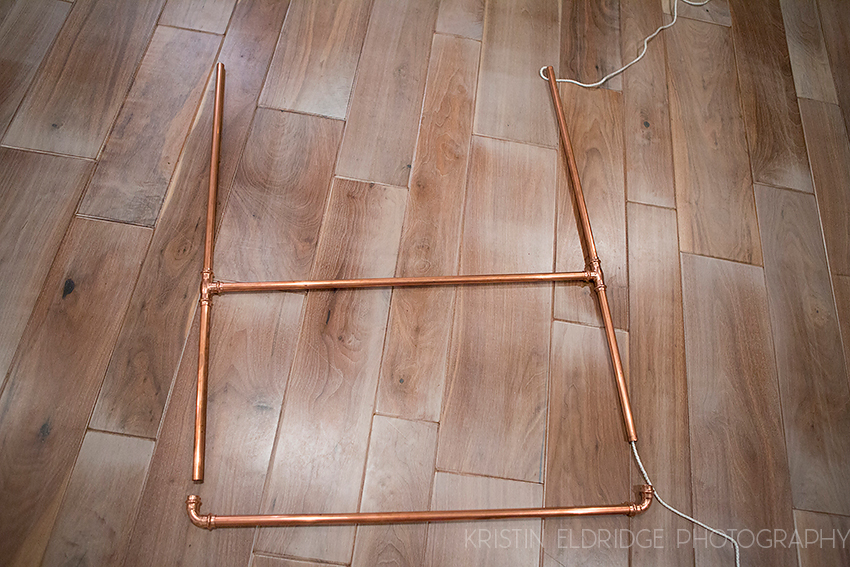
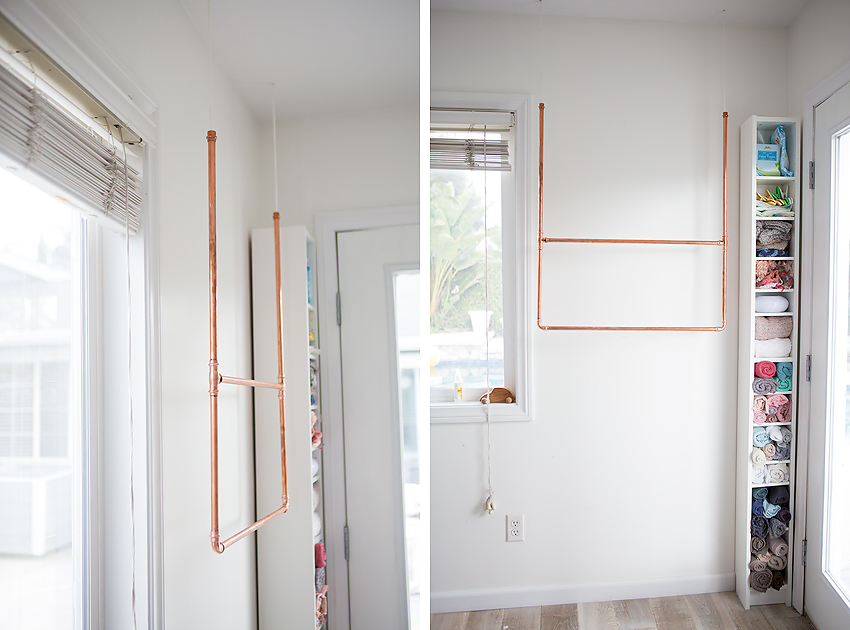
Once you have it assembled, you’ll want to thread the rope through. It goes all the way down the right side, across the bottom portion and up the left side. (It doesn’t go through the middle piece.) I did take the joints apart as I threaded the rope through and then put them back together once the rope was through (as shown).
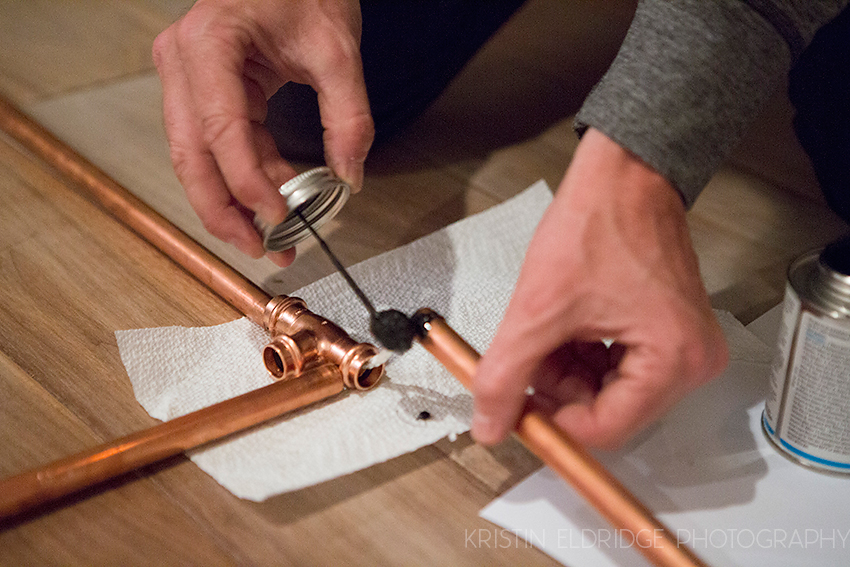
Next you’ll want to take the joints apart one more time, apply cement glue and push the joints back together. Let this part dry overnight.
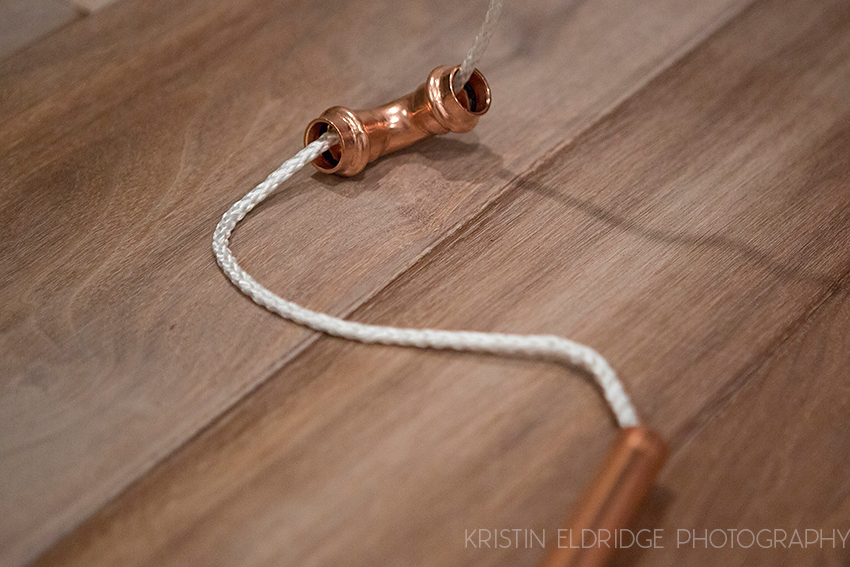
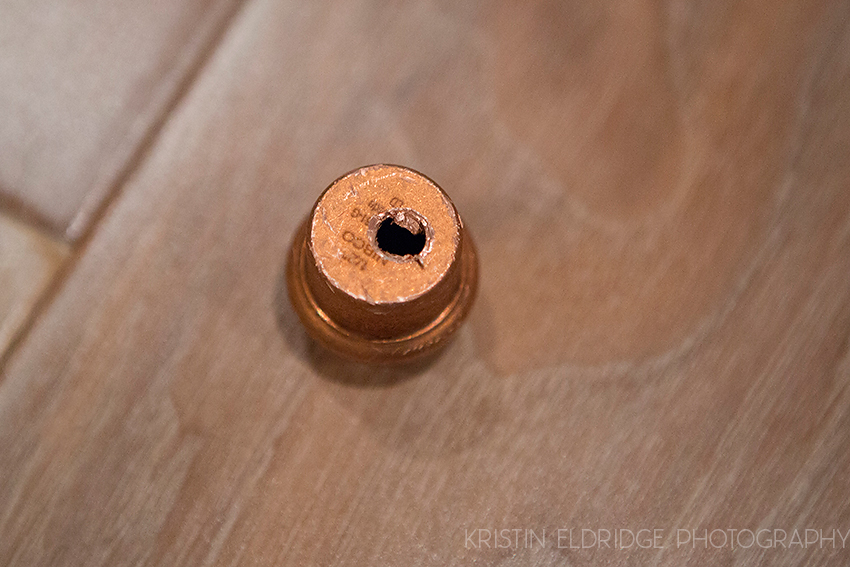
While it’s drying you can drill a hole as big as your rope (mine was 1/8″ rope) into the end caps. This will prevent from moving around inside the pipe (and add stability) while it’s hanging.
Thread the rope through the end caps and secure it with more cement glue.
The original project called to hang eye hooks from the ceiling at tie the ropes to secure it. We decided to go for a cleaner look, so Brent drilled 1/8″ holes in the ceiling (from the attic). We threaded the rope up the ceiling and tied it into a knot at the top. We also added a board under the knot for a little more security.
Now that the rack is on basically a big loop, I can adjust as needed if it gets lopsided from the blankets I’ve layered on. Scroll up to the top to see how it goes into the ceiling.