Just wanted to share a few fall-inspired/Halloween decorations I recently put up around the house…


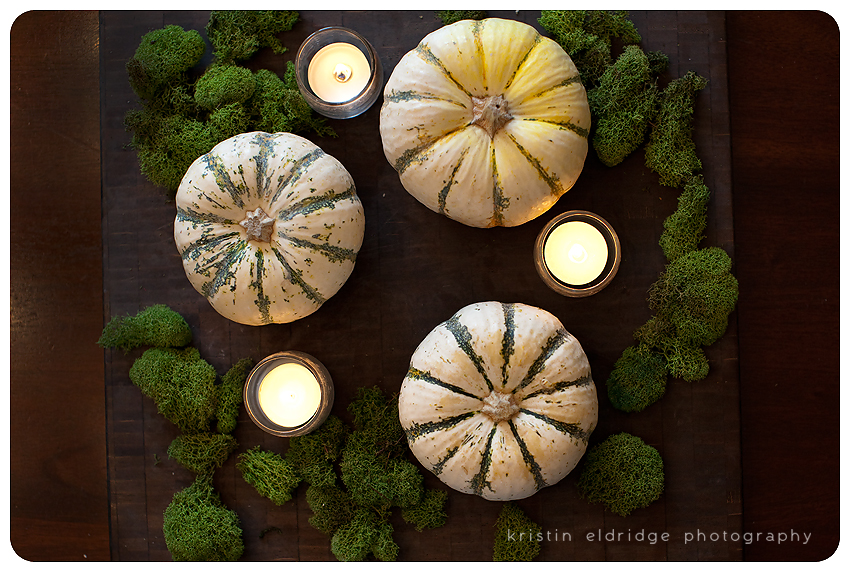
I saw these little white pumpkins at Trader Joe’s and had to buy them! They are so cute and I love how different they are. I just put them on my cutting board with some moss and a few tealights. Instant fall update for the kitchen table.


My friend Laura inspired me to do a paper garland, so I decided to try my hand at bats! I found an easy cut out shape on-line, then bought some sparkly black cardstock at Michael’s. I traced the bats and the kids helped me cut them out. About 3 bats in, they decided it was too hard, so my in-laws helped me cut out the rest! 🙂 I sewed the bats together into 3 strands and pinned them in the window. Then I put some cobwebs up in the corners.


I attempted to bring fall into my home like your information box claimed, however I feel like we might have been doing things differently. The candels didn’t remind me of Fall at all, I mean do you find perfect little glass cups with melted wax and mini wix’s in the forest? I didn’t think so. BUT, you do find a jumble of fallen tree branches lit on fire. Thus, this is what I did, for the sake of bringing Fall into my home. As for the pumpkins. When have you ever scene wild pumpkins roaming through the brush? NEVER. Because pumpkins are just some processed squash that some lonely farmer creates to feel wanted by the public. He’s not. and pumpkins are not realistic with the ‘bring fall into my home.’ SO, I went for some giant boulders, and just for the heck of it I took away all my furniture and replaced them with the boulders. Surrounding these large rocks, I placed tiny crushed up bugs and stacks of leaves, to add to the ‘ just came out of fall’ effect. Now my house really looks like Autumn. However to add to the spooky, halloween part. I did use bats. However instead of the false, paper, pathetic bats you hung around your windows in an effort to be creative. I used real bats, found in the near by cave. These really scared the children. My house was definitely the best decorated on the block, that is before it burned down.
…someone sounds a little jealous.
Another decorating tip I will have to try next year. I mean the pumpkins and candles, not the bats. I definitely don’t have either your skill or patience to cut those out! LOL!